Using FilmStrips In CatDV
With the release of CatDV Server 9 there is now added functionality to display film strips in the web client. This tutorial will show you how to set up a workflow to implement this new feature
Create a directory/volume location for FilmStrip files.
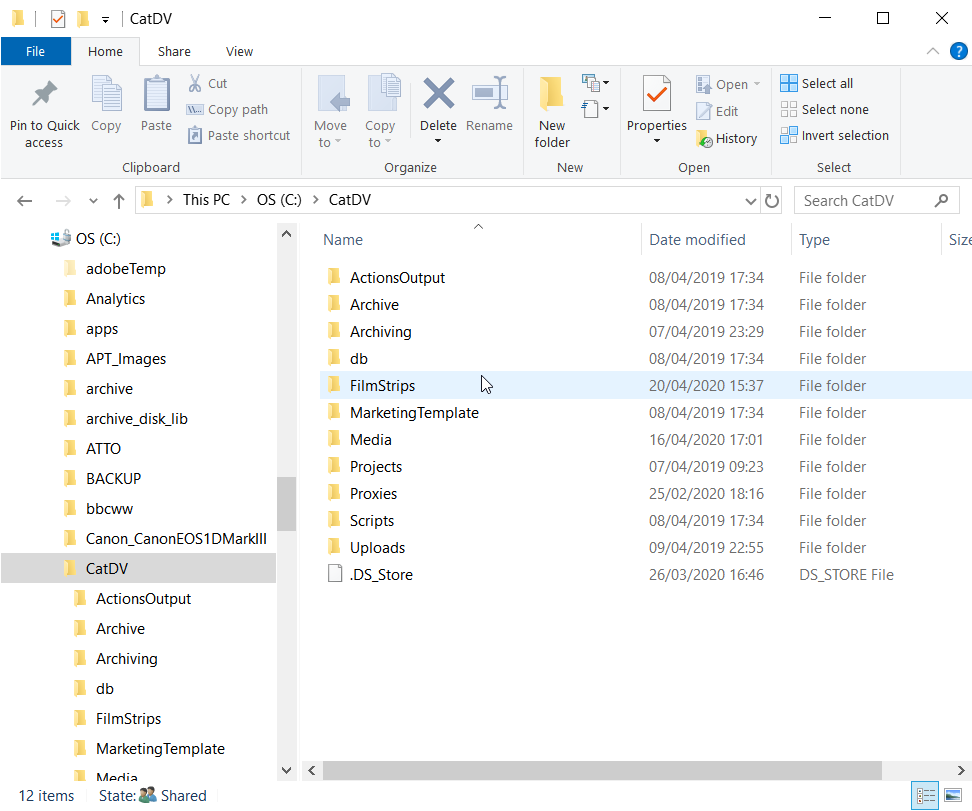
1 Create a directory on your media drive/volume where the FilmStrip files will be located. In this instance, it is called C:\CatDV\FilmStrips.
Creating a path type and media store FilmStrip files.
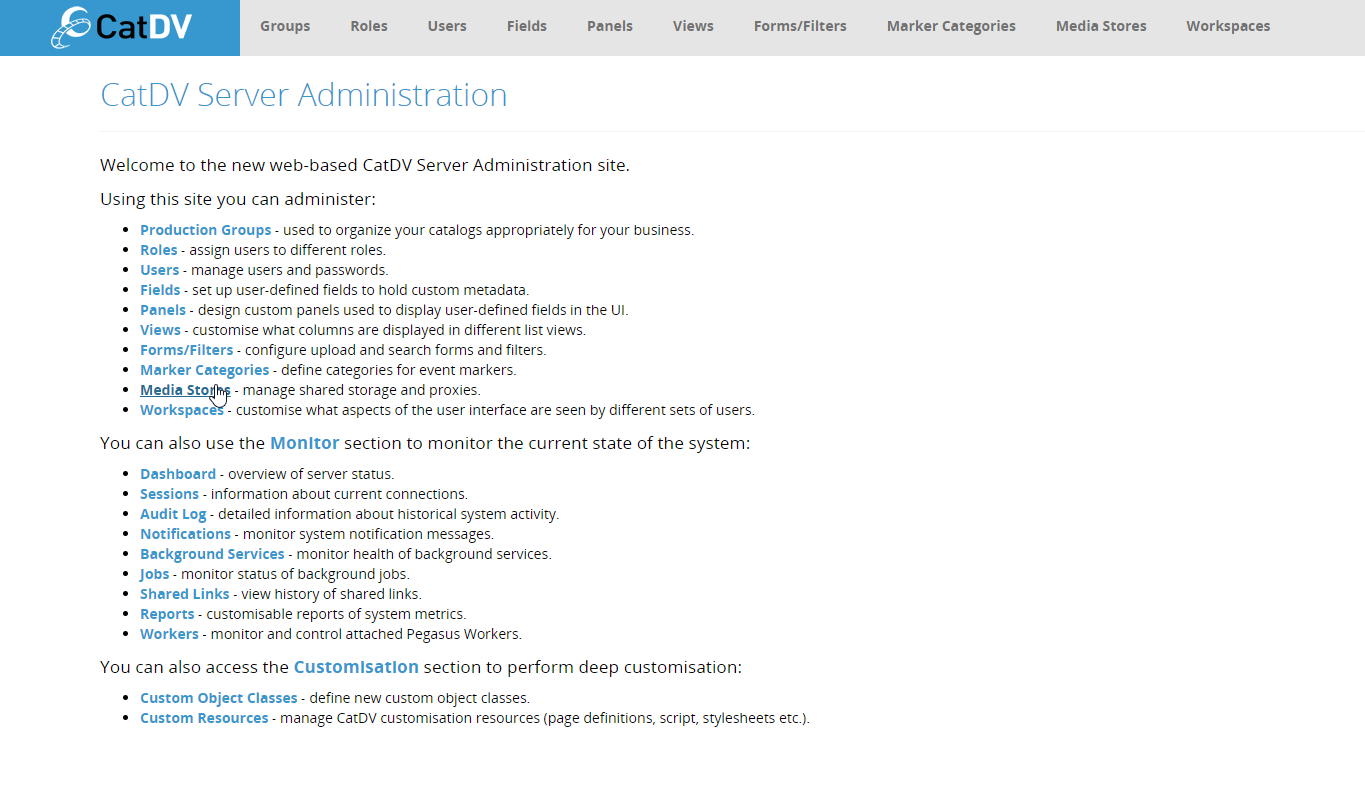
1 Goto the Web Client and open up the admin settings, then open media stores.
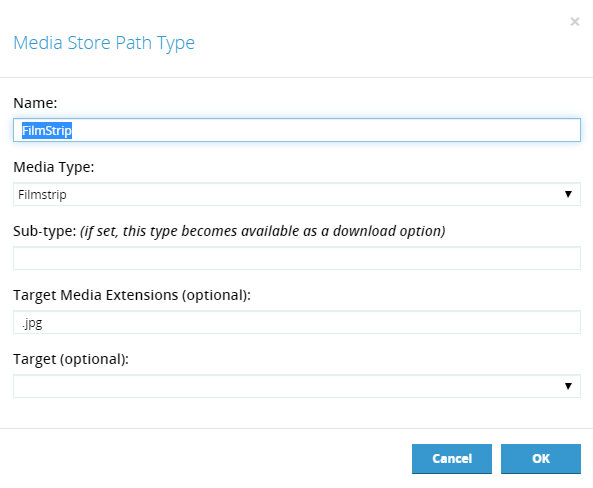
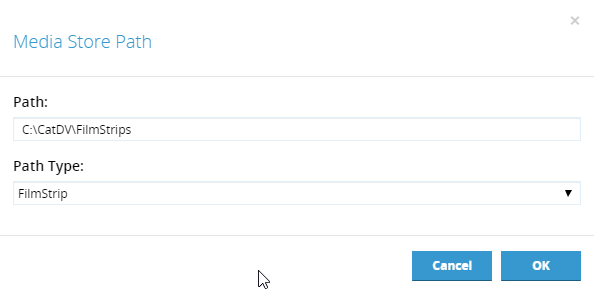
2 Click on the Managed Path Types button and add a new path type called FilmStrip, although you can name this to anything that you like. Define the name as FileStrip, set the Media Type to Filmstrip from the picklist and add a target media extension of .jpg. Click OK to save the settings.
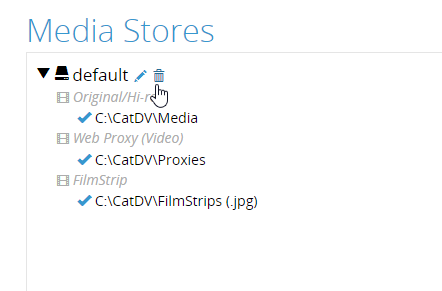
3 You can now add a new file store dedicated to FilmStrip's similar to the way that you would for original and proxy media files.
Creating a user-defined field for the FilmStrip workflow.
Next, we will create a user-defined field that will be used to trigger the creation of the FilmStrip file.
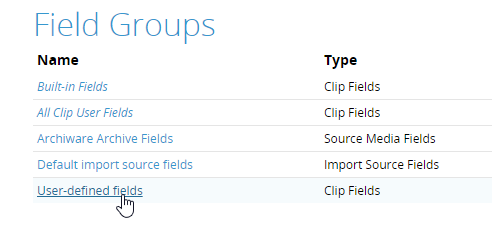
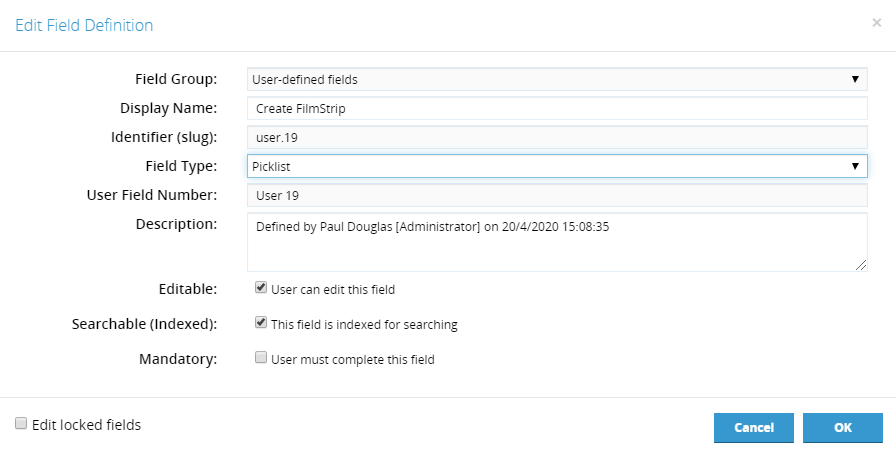
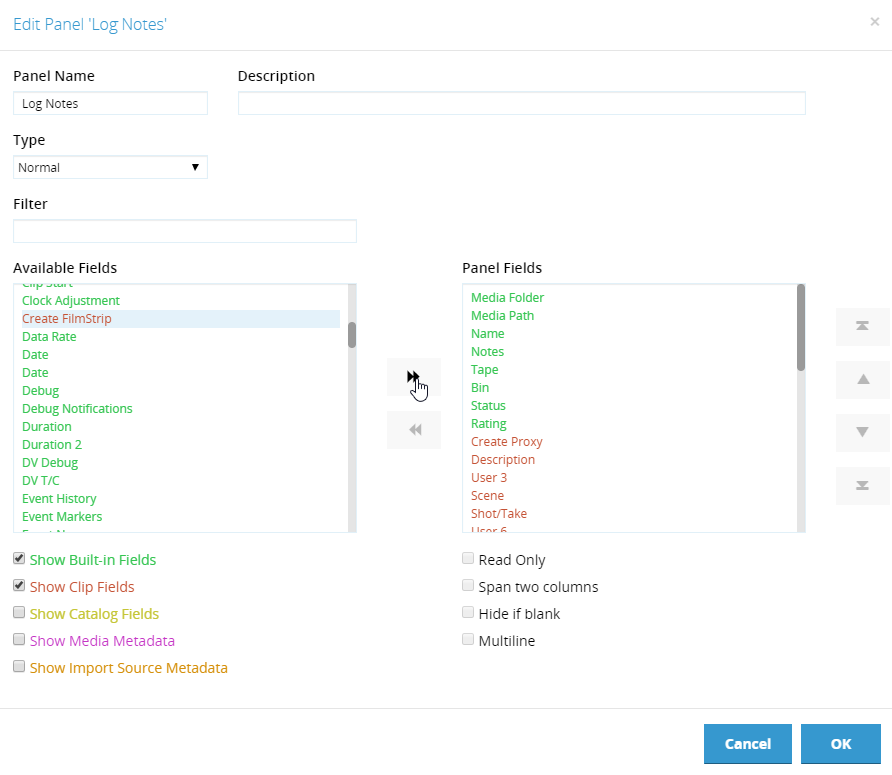
1 Go back to the Admin settings in the web client and choose Fields. In this example click on User-Defined Fields and then click the add button. Call your field something notable such as Create FilmStrip and set the field type to Picklist, click OK and save.
1.2 Click on the edit Picklist button for Create FilmStrip and add the following entries, Yes, No and FilmStrip Created, then click OK to save the entries.

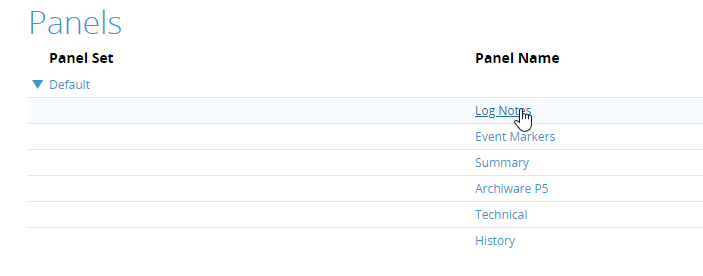
2 Now go to the panels and add the newly created field to your panel so that users can access it and save it using the OK button.
Automating the FilmStrip workflow.
We will now create a worker action to automate the filmstrip creation process.
1 Create a server query that utilises the Create FilmStrip field (set to yes) that we defined in the previous steps.
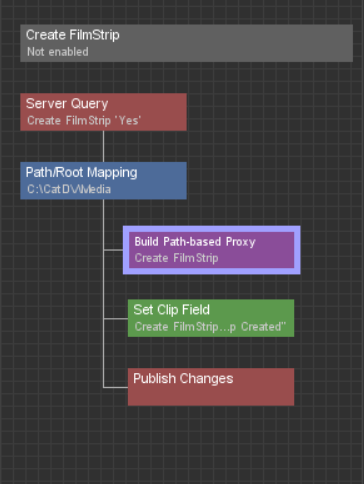

2 Ensure the proxy root location points to the directory that you created in the very first part of the tutorial.

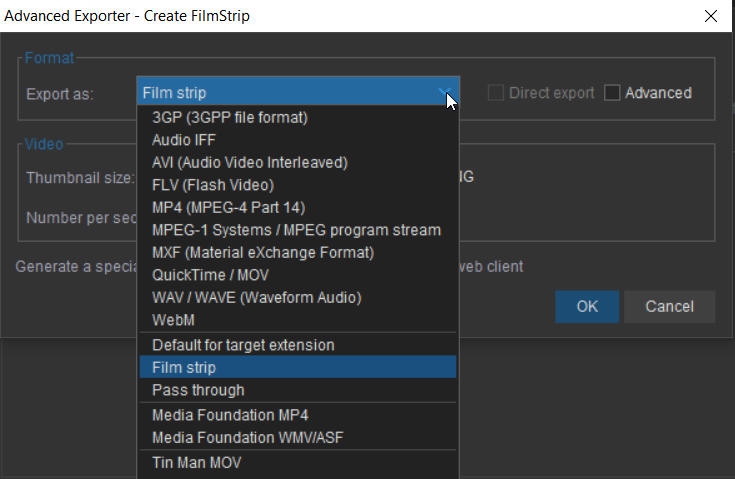
In the Format->Export As pick list ensure that you select Film Strip.
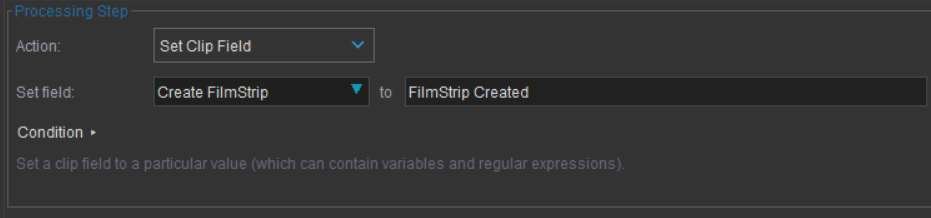
4 Set the clip field for Create FilmStrip to FilmStrip Created so that the worker actions knows that the file has been created.
Trigger the creation of the FilmStrip.
Go back to the web client, select a media clip to test, click on the Create FilmStip field and set it Yes to trigger the creation of the film strip and save the calalog changes.

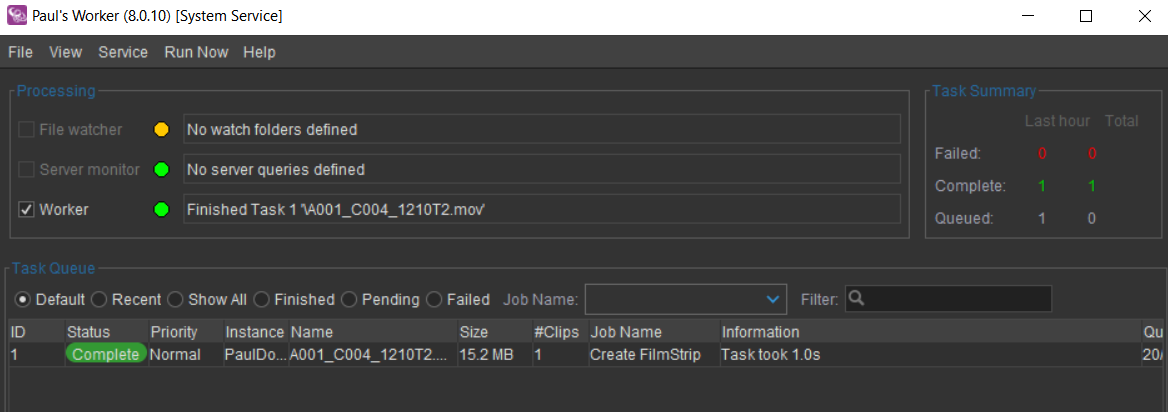
The Worker Node will now create the FilmStrip file.
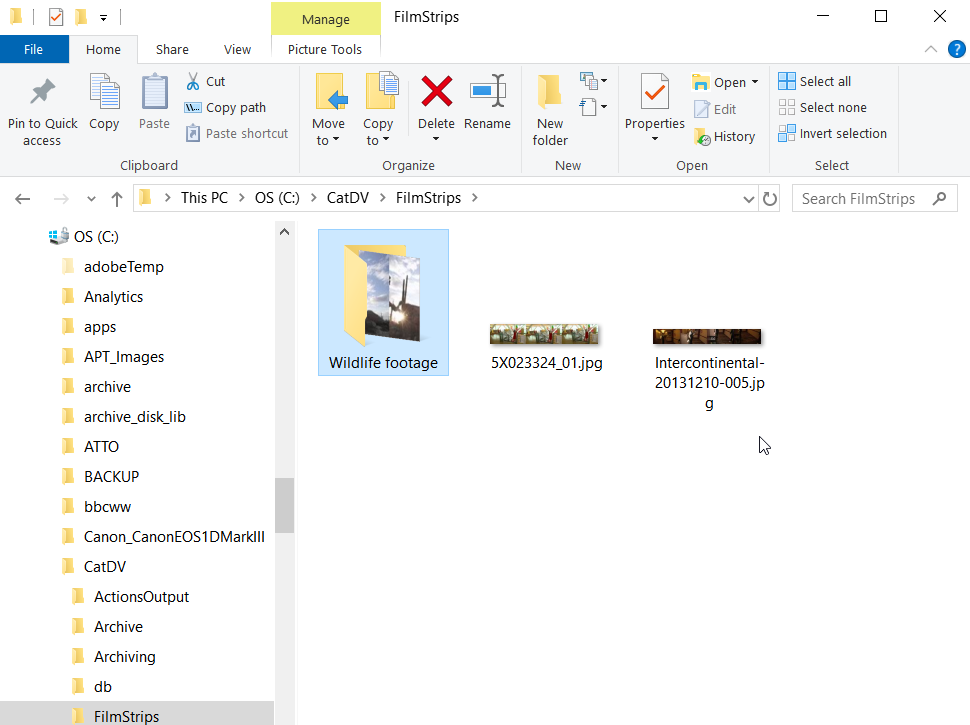
And you will also see the file being created in the directory/volume that you defined.
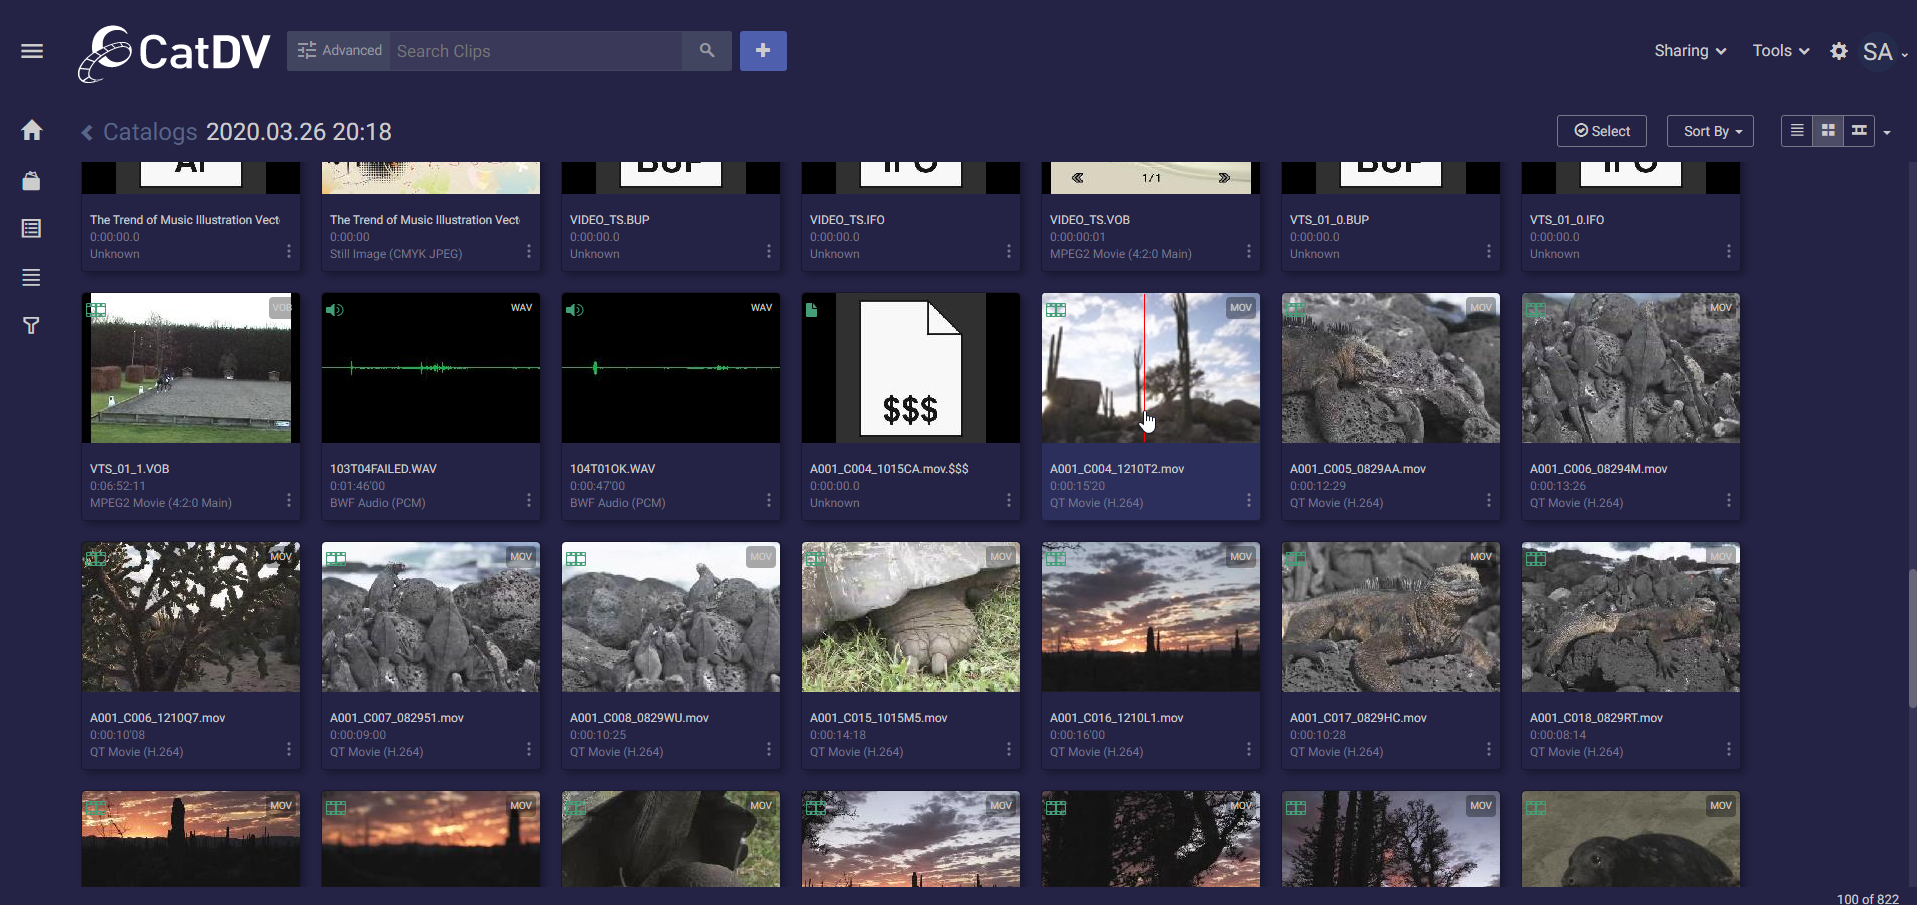
And now for the moment of truth! If you open up the web client, go to the catalog that contains your media file, switch to the grid mode and hover your mouse above the desired clips thumbnail, you can scrub from left to right (and vice versa) and see the film strip in action. This is also indicated by a thin red vertical line moving from left to right (and vice versa) in the thumbnail.
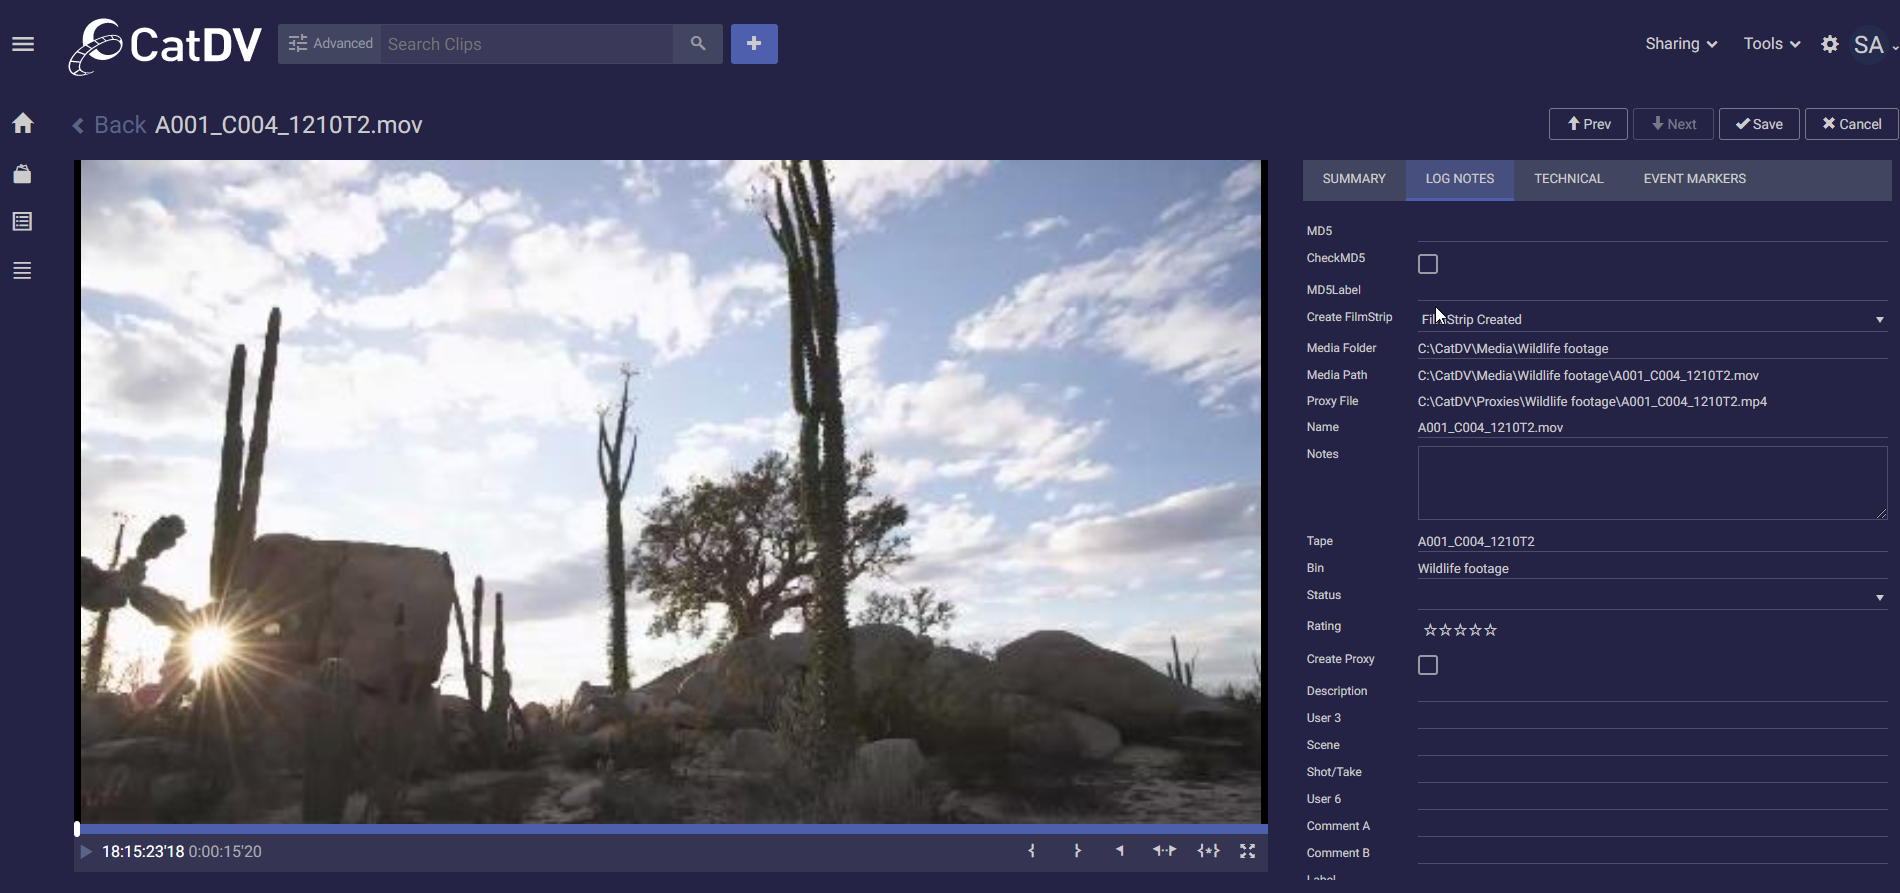
The clip will also display the Create Filmstrip variable with a status of FilmStrip Created.