Review and Approve
CatDV Server includes built-in Review and Approve workflow support that allows media assets to be submitted for approval by one or more ‘approvers’. Approvers can review the assets, and make comments and annotations tied to specific timecodes within the footage. Comments and annotations are reflected in real-time back to the user who initiated the approval workflow. The initiating user (typically the content’s creator e.g. photographer/cameraman or editor) can reply to comment in real-time, and engage in an interactive “chat-style” dialog with the reviewer.
The reviewer can subsequently choose to approve the asset, or request revisions. Where there are multiple reviewers CatDV can apply rules to determine the overall approval status of the asset based on the individual reviewer’s results. Currently CatDV supports either a ‘unanimous’ verdict – where all reviewers must approve the asset, or a ‘first approver with veto’ option where a single approver can approve the asset provided no other approver has previously rejected it.
Configuration
The review and approve workflow makes use a of a number of custom user fields and other settings, which must be configured using the Review & Approve administration page, which can be found in the “Customisation” section of the web admin UI:
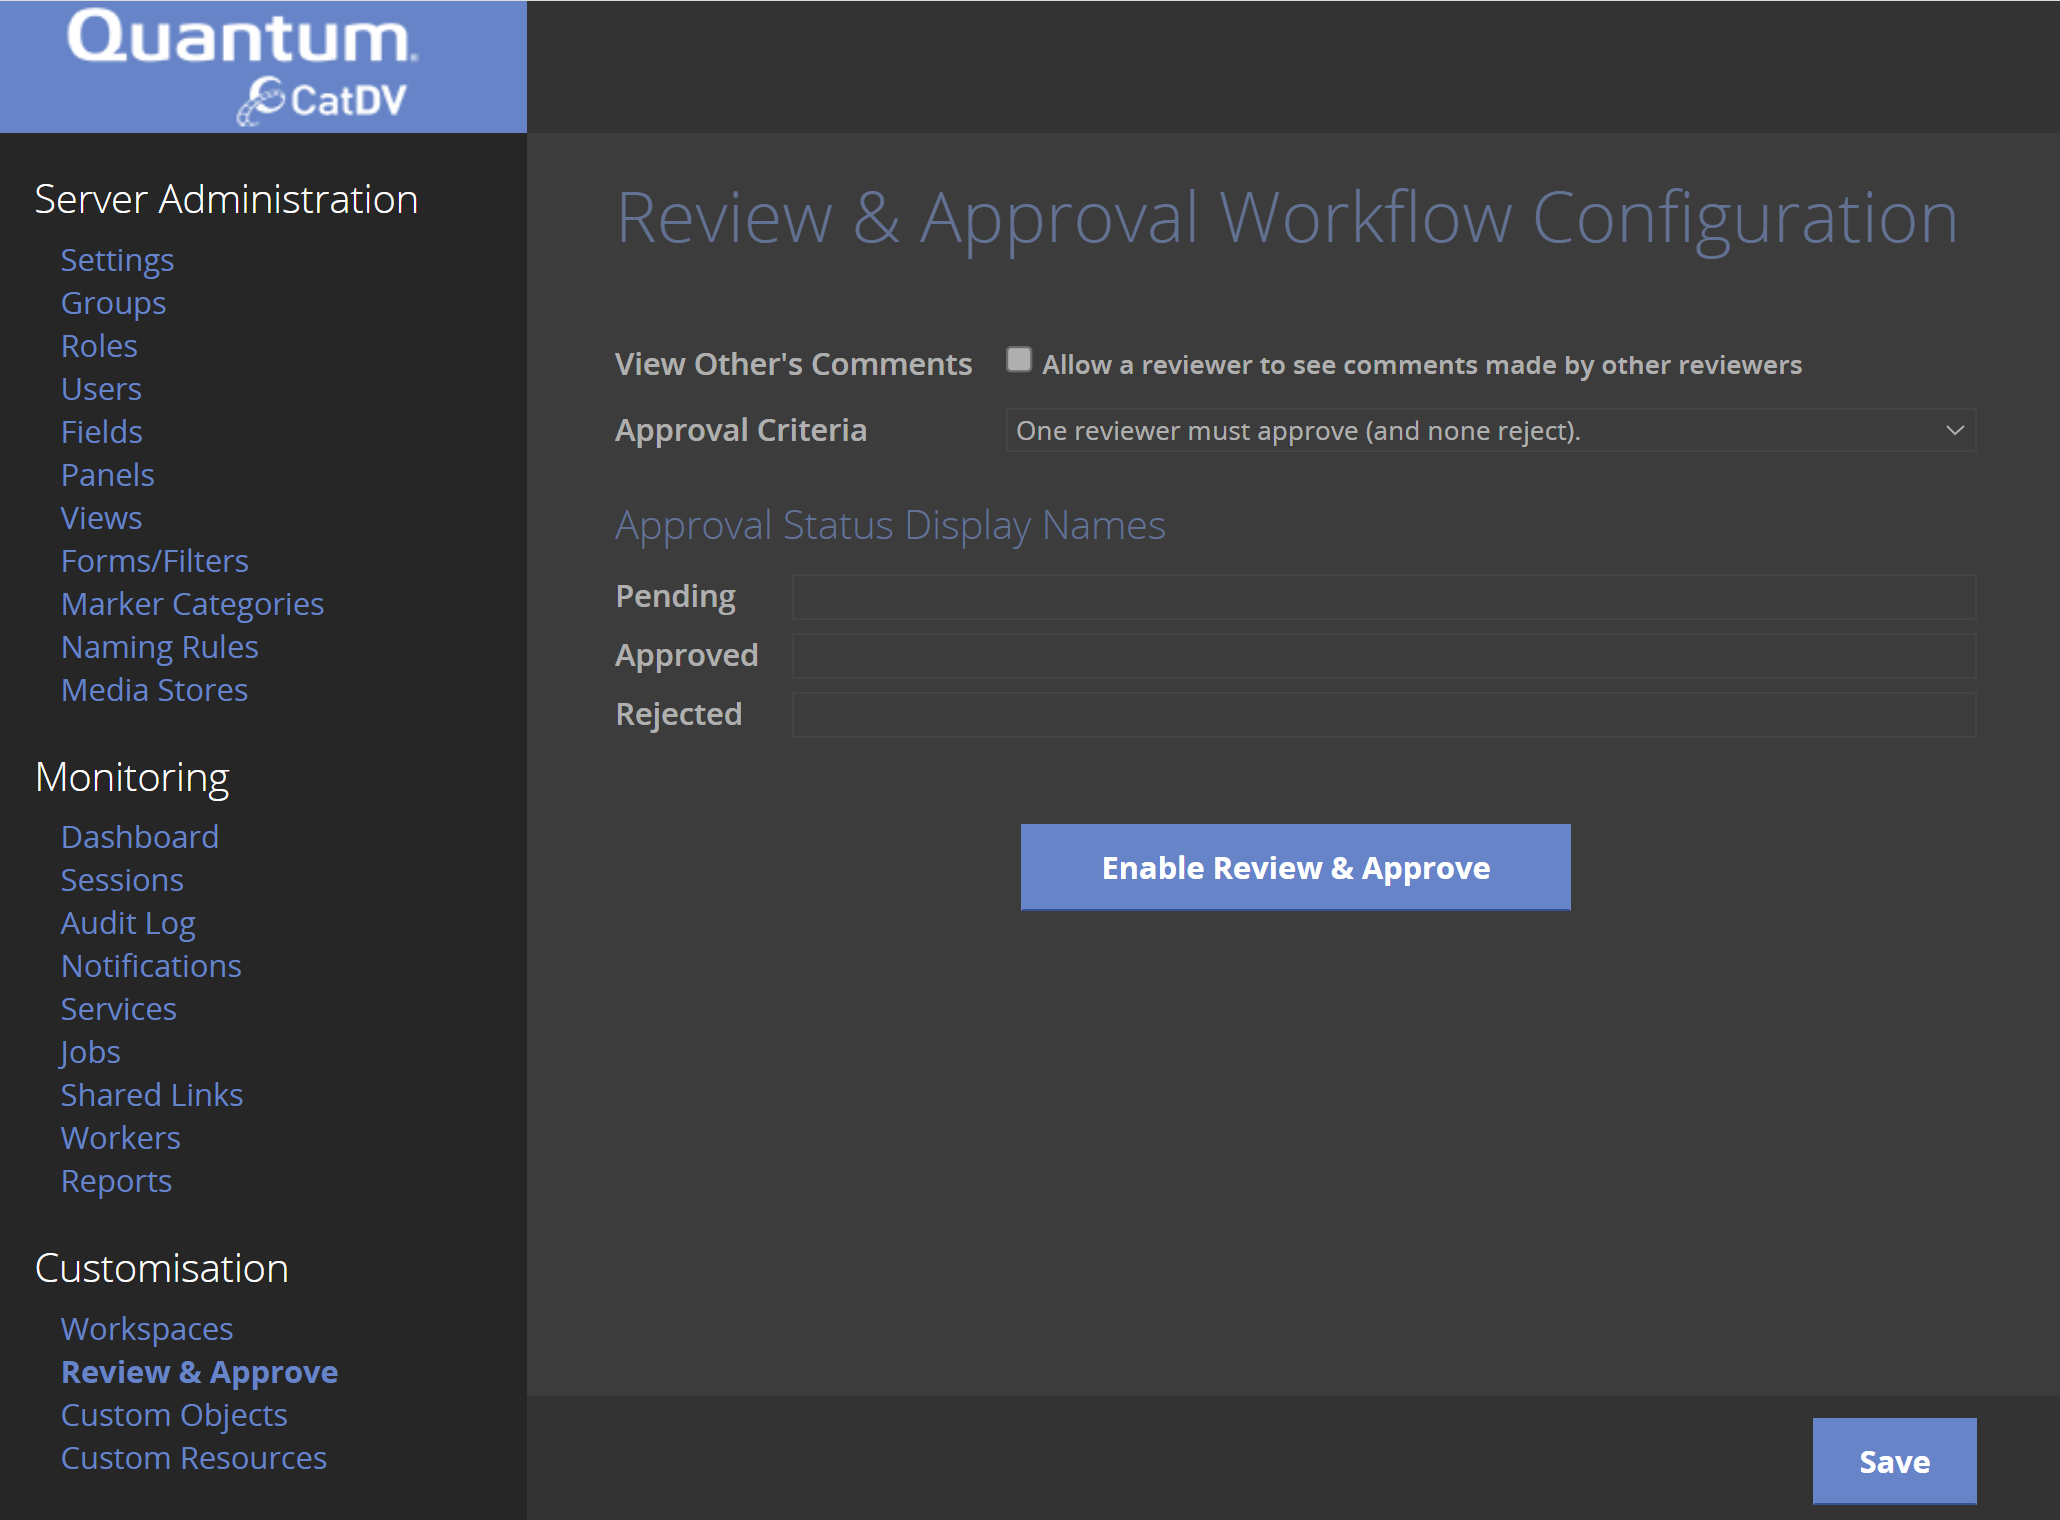
On first visit the settings form is disabled, and instead you will see a single “Enable Review & Approve” button. Click this and you will see a confirmation message explaining that this will create a set of user-defined fields
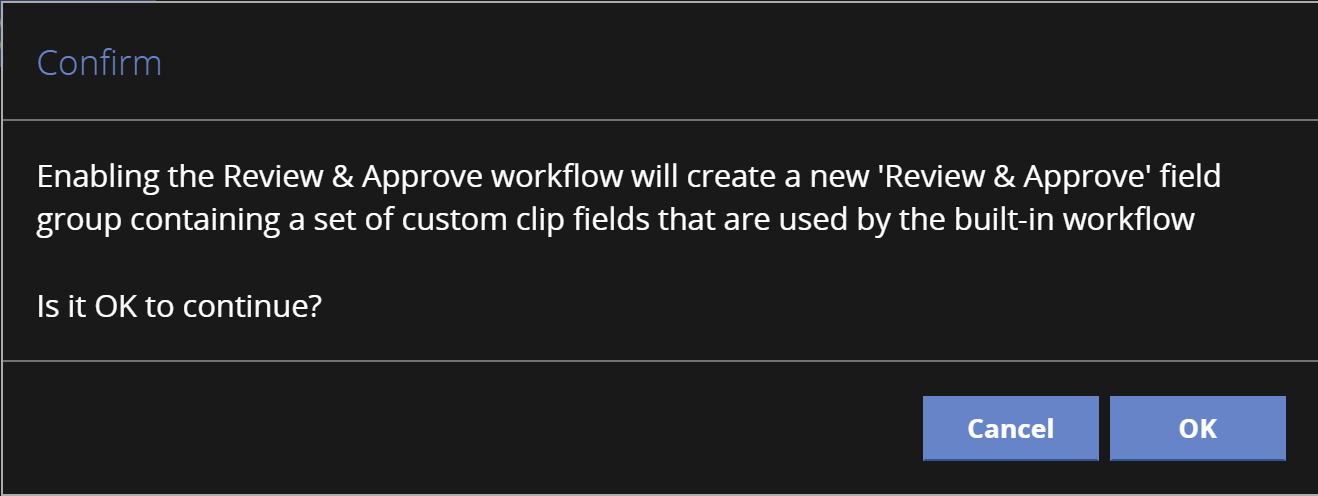
Pressing OK will create the required fields and enable the settings form:

You can configure the following settings:
· View Other’s Comments – specifies that each reviewer should be able to see the comments made by the other reviewers. If this is not checked then each reviewer will only see their own comments and any replies made by the review initiator.
· Approval Criteria – specifies whether either all reviewers must approve an asset, or whether a single approver is sufficient (provided no other reviewer previously rejected it.
· Approval Status Names – allows custom display names to be set for the three approval states ‘Pending’, ‘Approved’ and ‘Rejected’.
User Requirement
Note: for a CatDV user to participate in a Review & Approve workflow they must have a valid email address configured for their user account.
Configuring Panels and Workspace
Once the Review & Approve workflow is enabled and configured, it is necessary to enable access to the workflow for specific users by setting up the Review & Approval settings in their workspace:

Enabling Review & Approve in a workspace makes the “Approval Queue” visible in the navigation tree and enables the Approval Queue widget. It is also possible to override the default setting to allow reviewers to see other reviewer’s comments.
The final part of the setup process is configuring a Review & Approve panel.
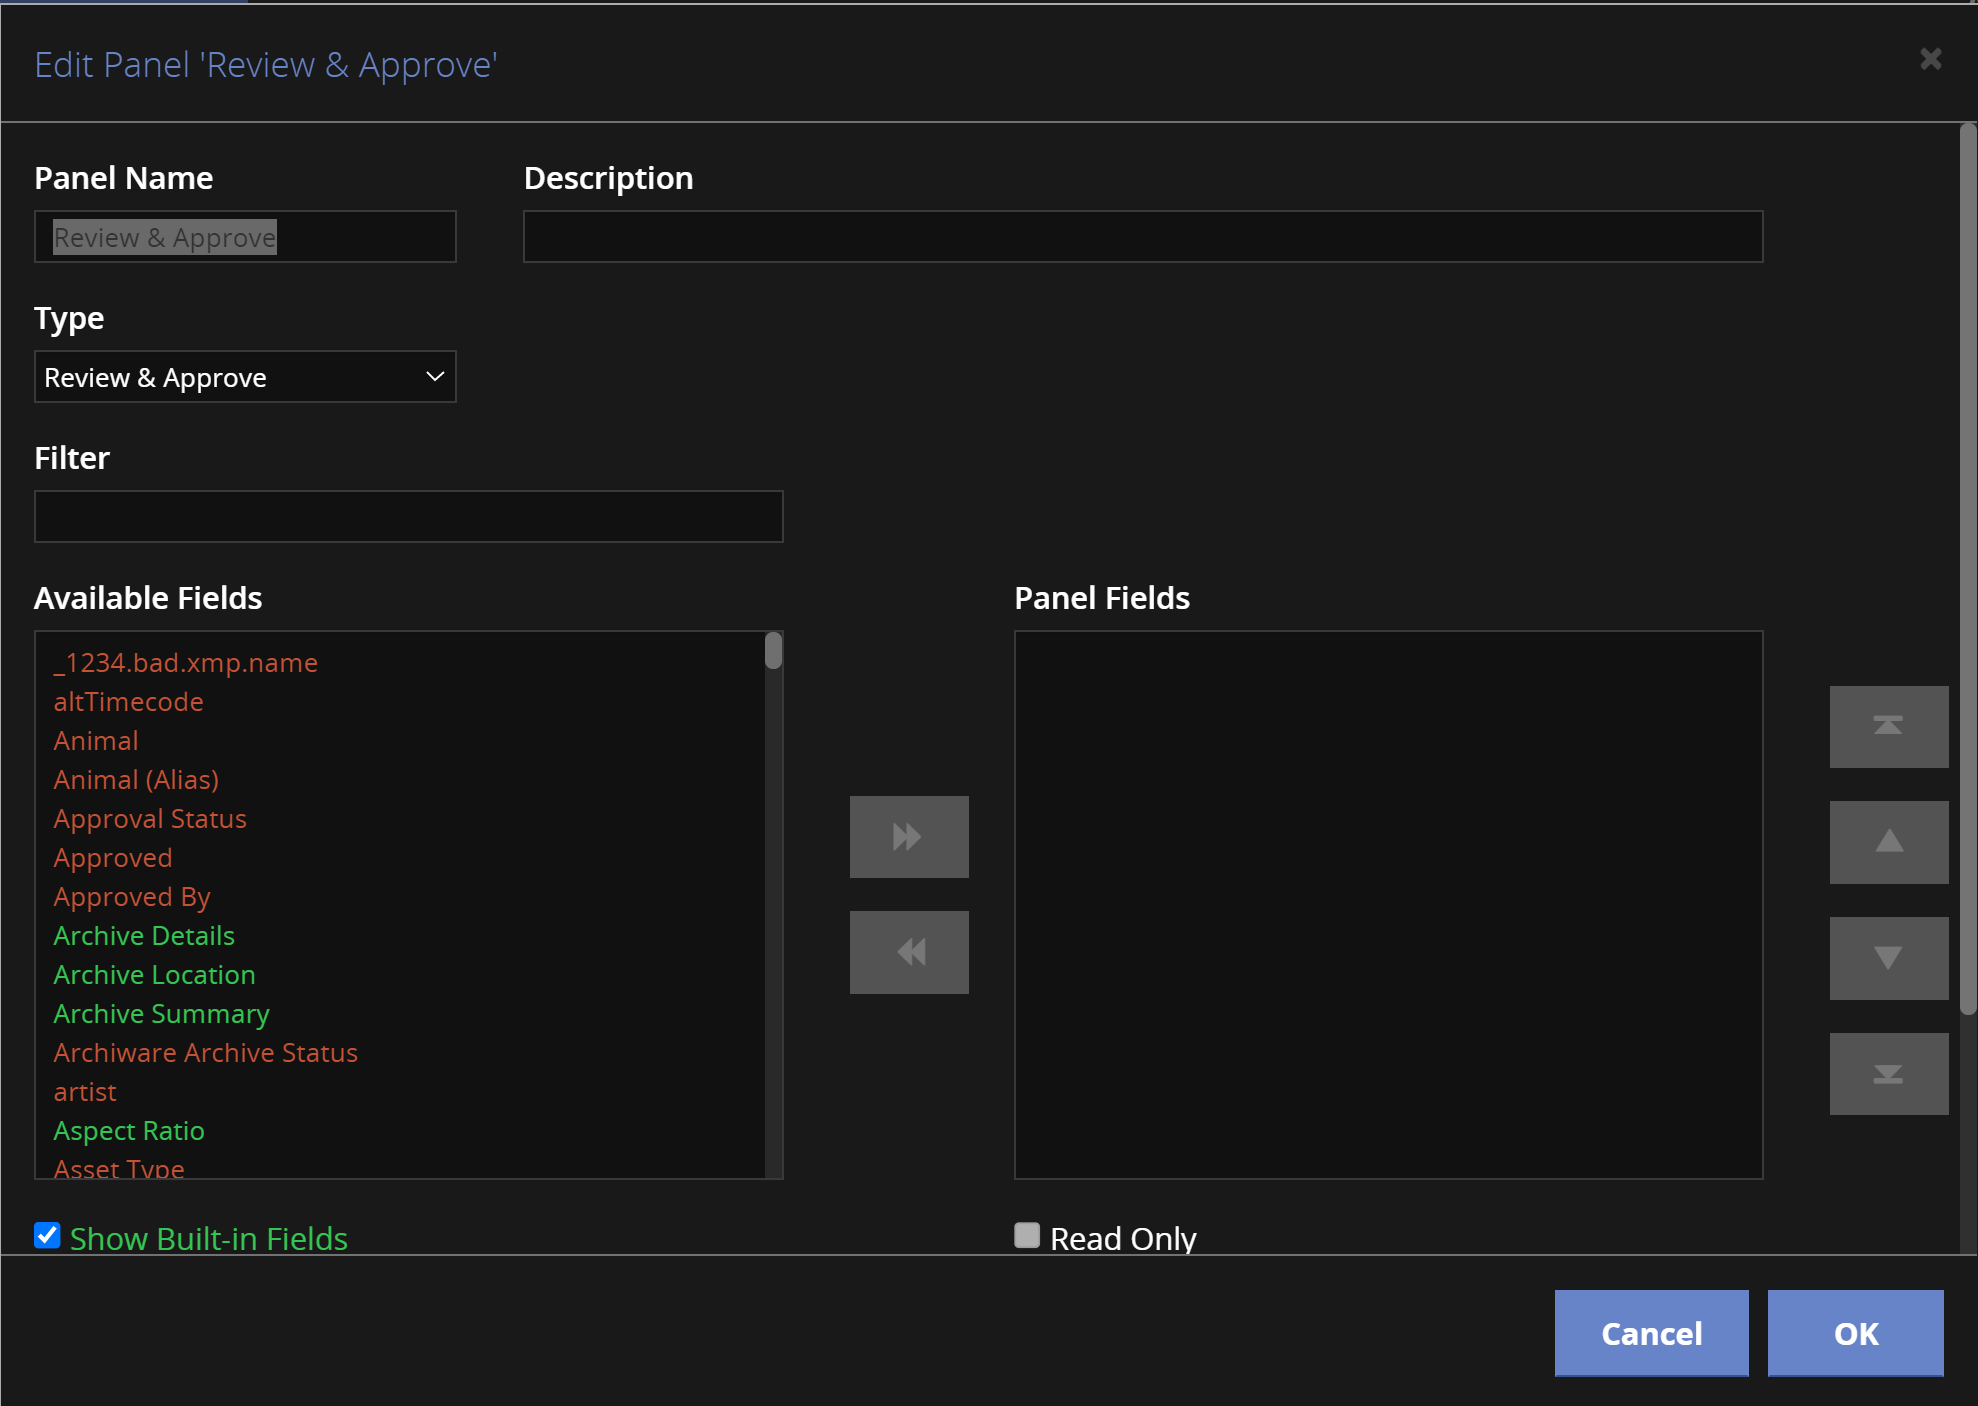
Note that Review & Approve is a built-in panel type. Currently it is not necessary to add any fields into the panel, but it is anticipated that future versions will support custom review status fields, which would be added here.
Review & Approval Workflow
This section describes how the Review & Approval Workflow operates.
Initiating a Review Workflow
To initiate a review workflow a user (typically the content creator) must submit an asset for approval using the “Submit for Approval” button on the Review & Approve panel:
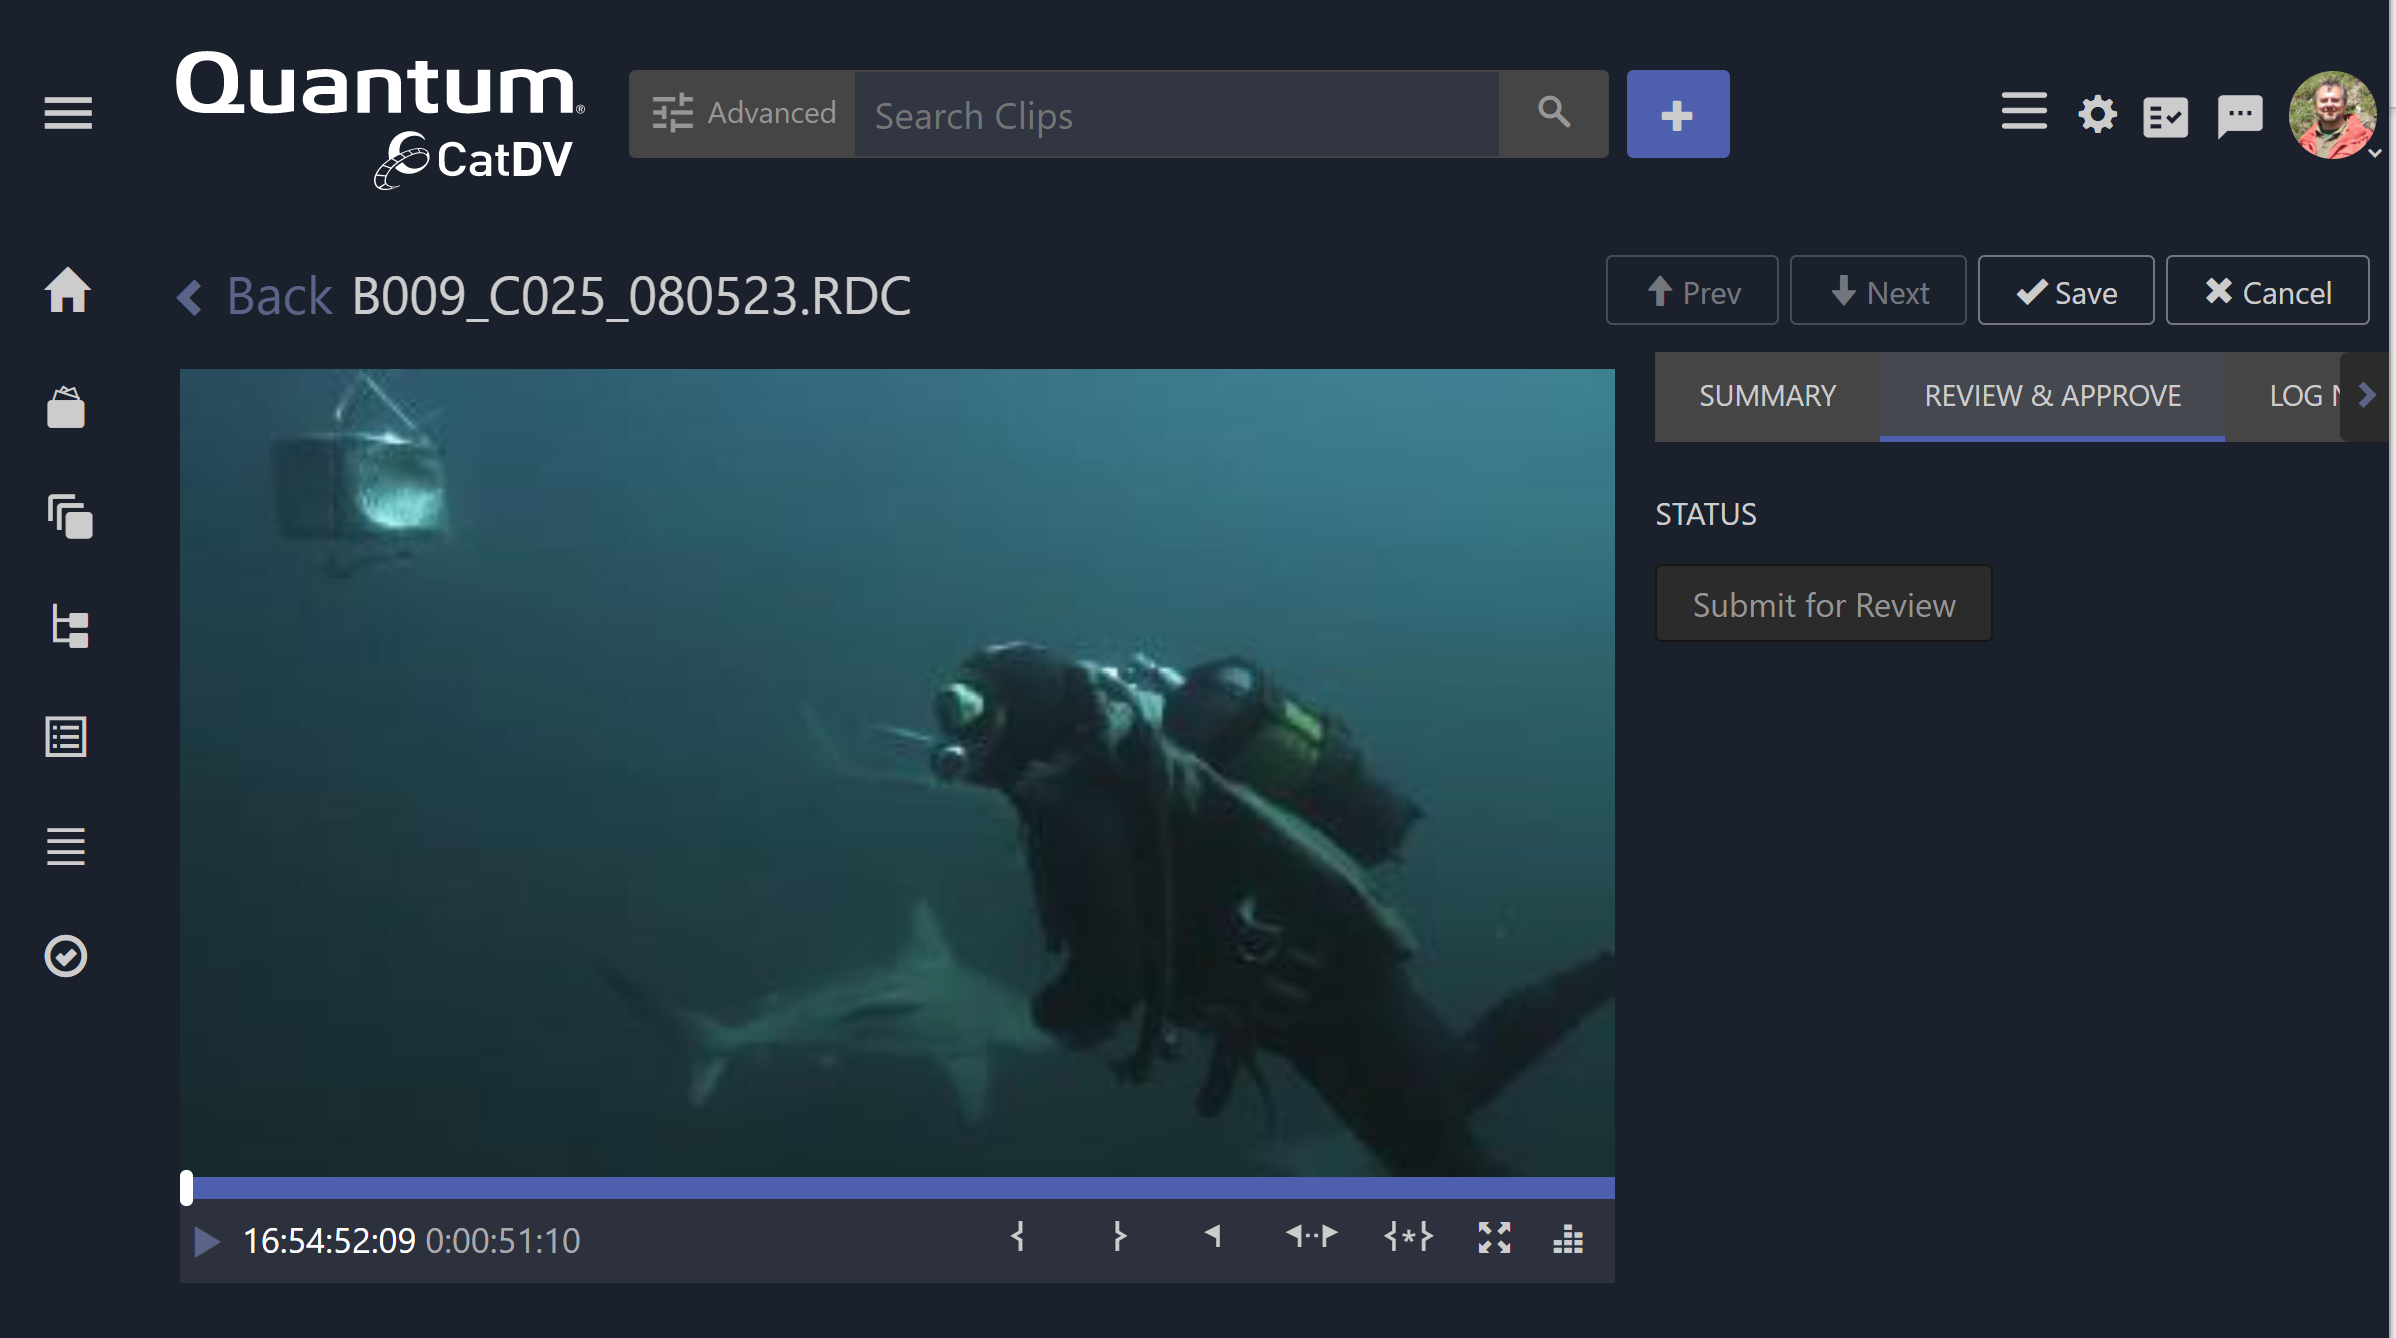
This will prompt the user to select one or more reviewers.

NOTE: users must have a valid email address to appear in the list of potential reviewers.
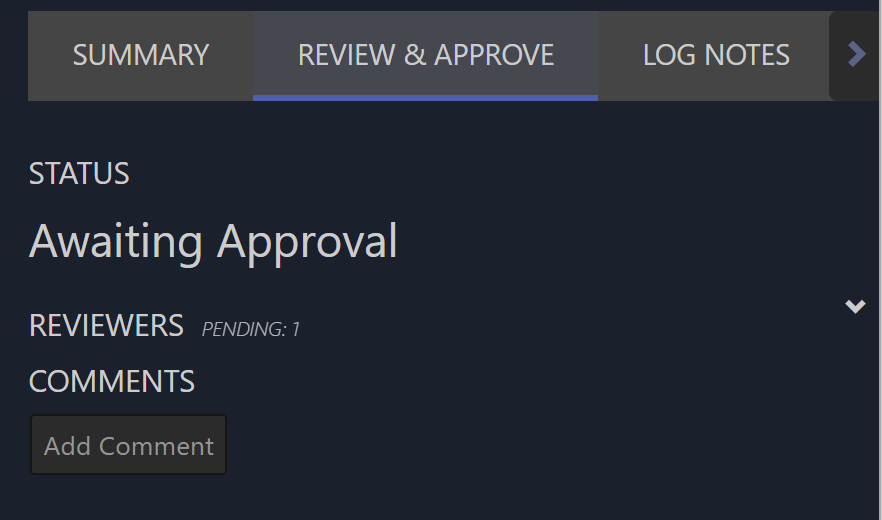
Once one or more reviewers have been chosen the asset is moved into the “Awaiting Approval” stage and the Review & Approve panel is updated to display the current status:
Adding/Removing Reviewers
The “Reviewers” section in the Review & Approve panel displays summary information (e.g. Pending 1) about the response from the reviewers. It can also be expanded to show more detailed information about each reviewer’s responses:
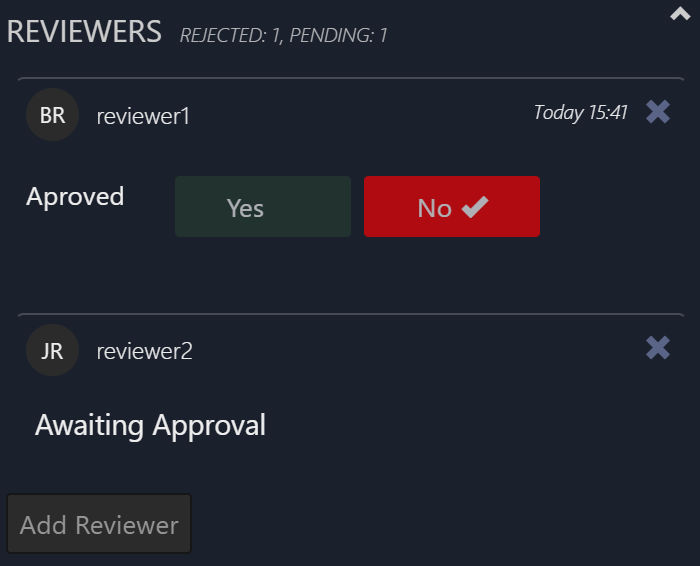
In the above example reviewer one has rejected the asset while reviewer 2 has not yet responed.
The reviewers section also allows additional reviewers to be added using the “Add Reviewer” button, as well as existing reviewers to be removed – using the cross icon to the right of the reviewer’s name.
Reviewing an Asset
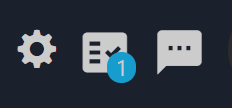
Once a review workflow has been initiated on an asset the reviewer will be notified via a notification ‘badge’ on the approval queue toolbar widget:
Clicking on the widget navigates to the user’s approval queue:
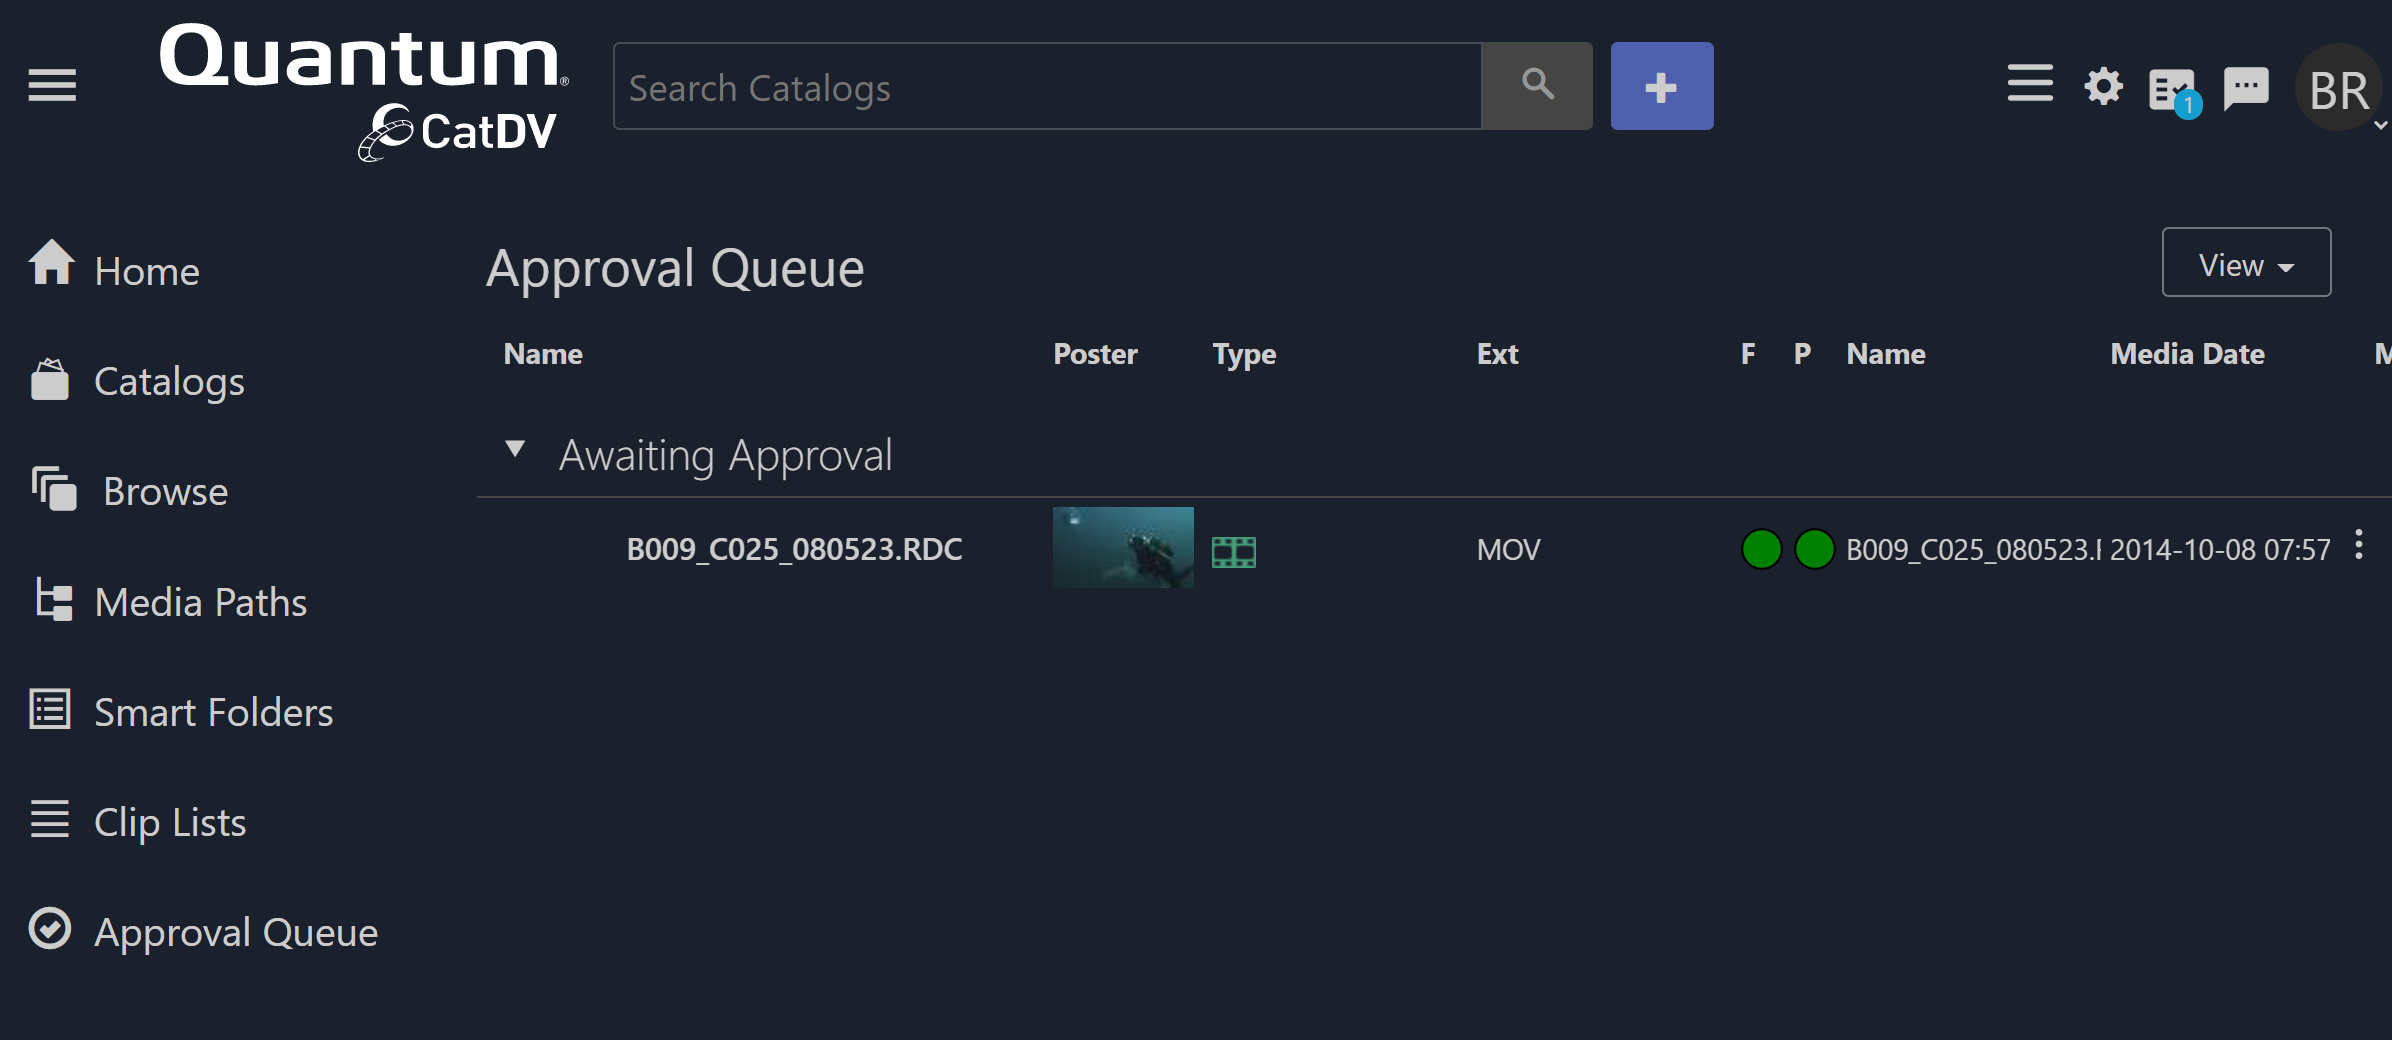
The user can also access the Approval Queue at any time by selecting it in the left-hand navigation panel.
Clicking on the asset in the queue opens the asset for review:
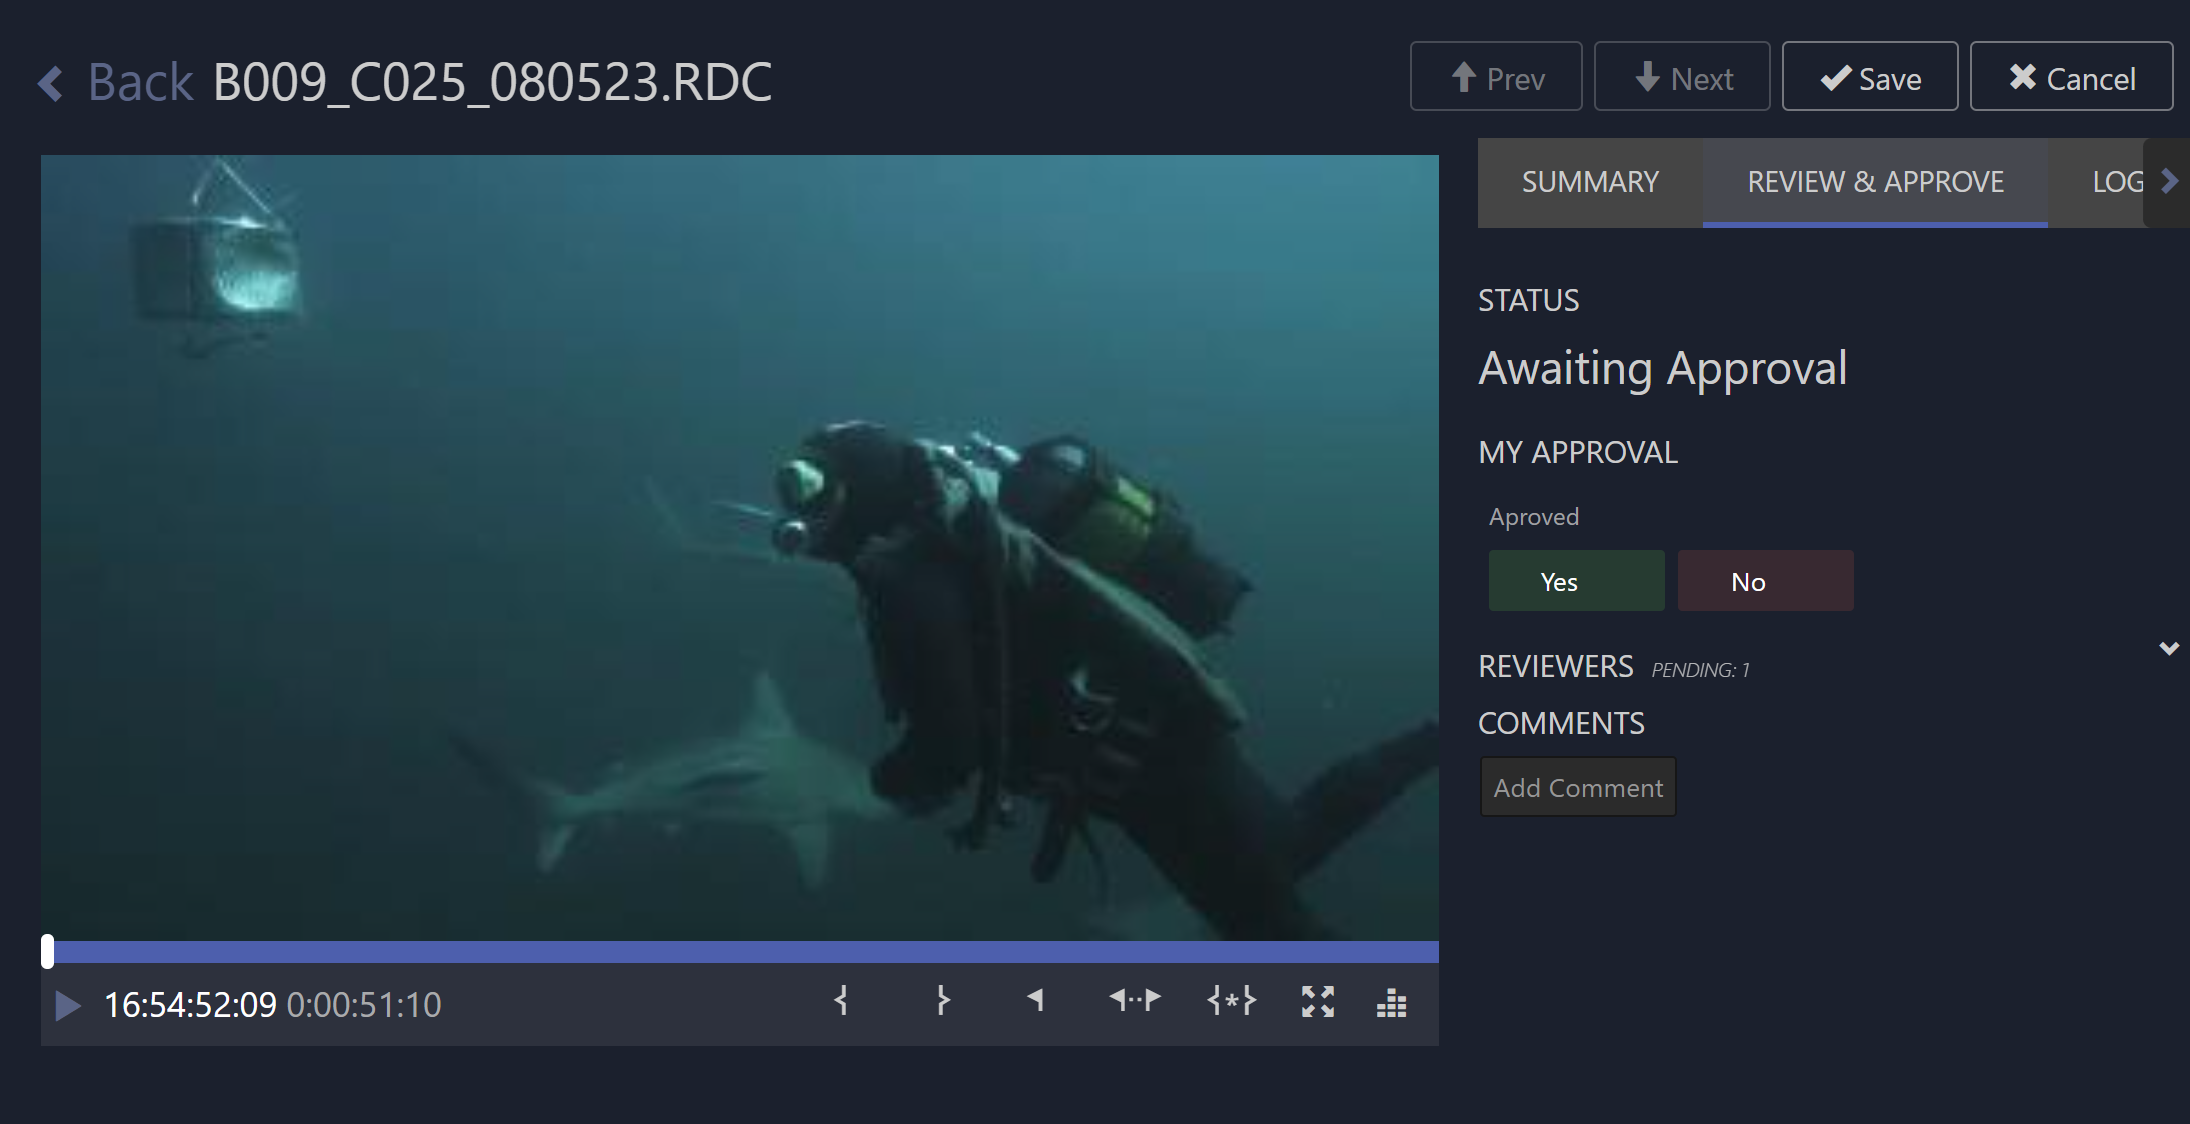
The reviewer is presented with a simple yes/no approval selector, which will mark the asset as approved or rejected. In cases where the asset is to be rejected, the reviewer can add comments and annotations to inform the content creator of the reason for rejection and what needs to be some to fix any issue.
To add a comment the reviewer would pause the video at the correct frame and click the Add Comment button, which would open a new comment at the current timecode:

The reviewer can enter text for the comment and hit return or click the save icon to save the comment.
Note: the comment is saved immediately and will be visible to the user that submitted the asset to be reviewed in real-time.
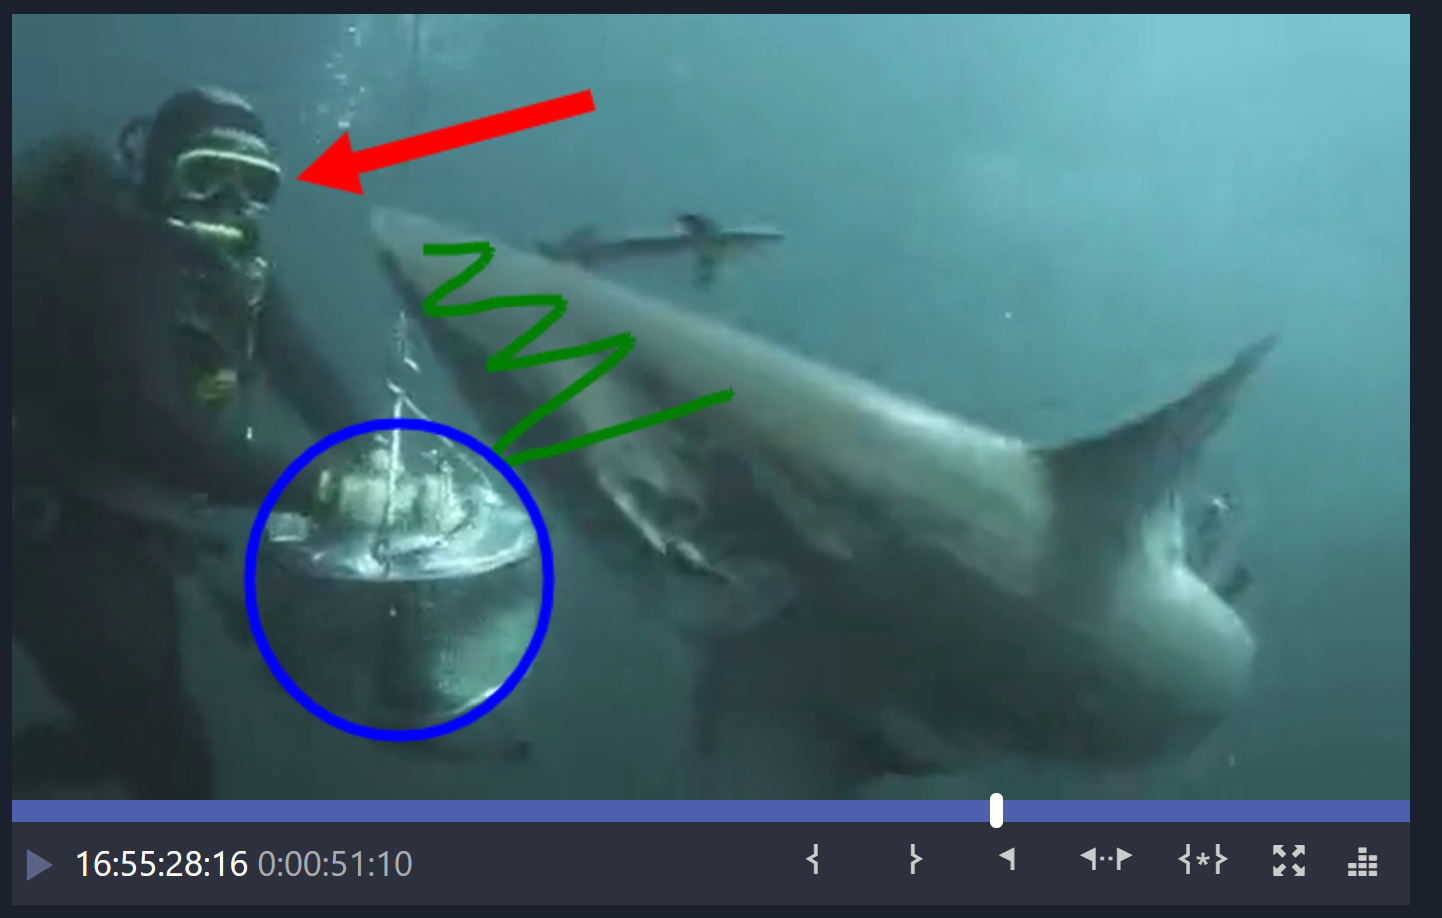
The reviewer can also add graphical annotations onto the frame using the annotation palette:

The palette controls are:
· Red, Green and Blue – select the current drawing color
· Square, Circle, Arrow and Freehand – select the current drawing tool
· Clear – clear the annotation
Once a tool and colour have been selected the reviewer can ad annotations by “drawing” directly on to the frame:
Responding to Reviewer Comments
As mentioned in the previous section, comments and status updates are communicated to the user who submitted the asset for review in real time. They have a very similar view to the reviewer:
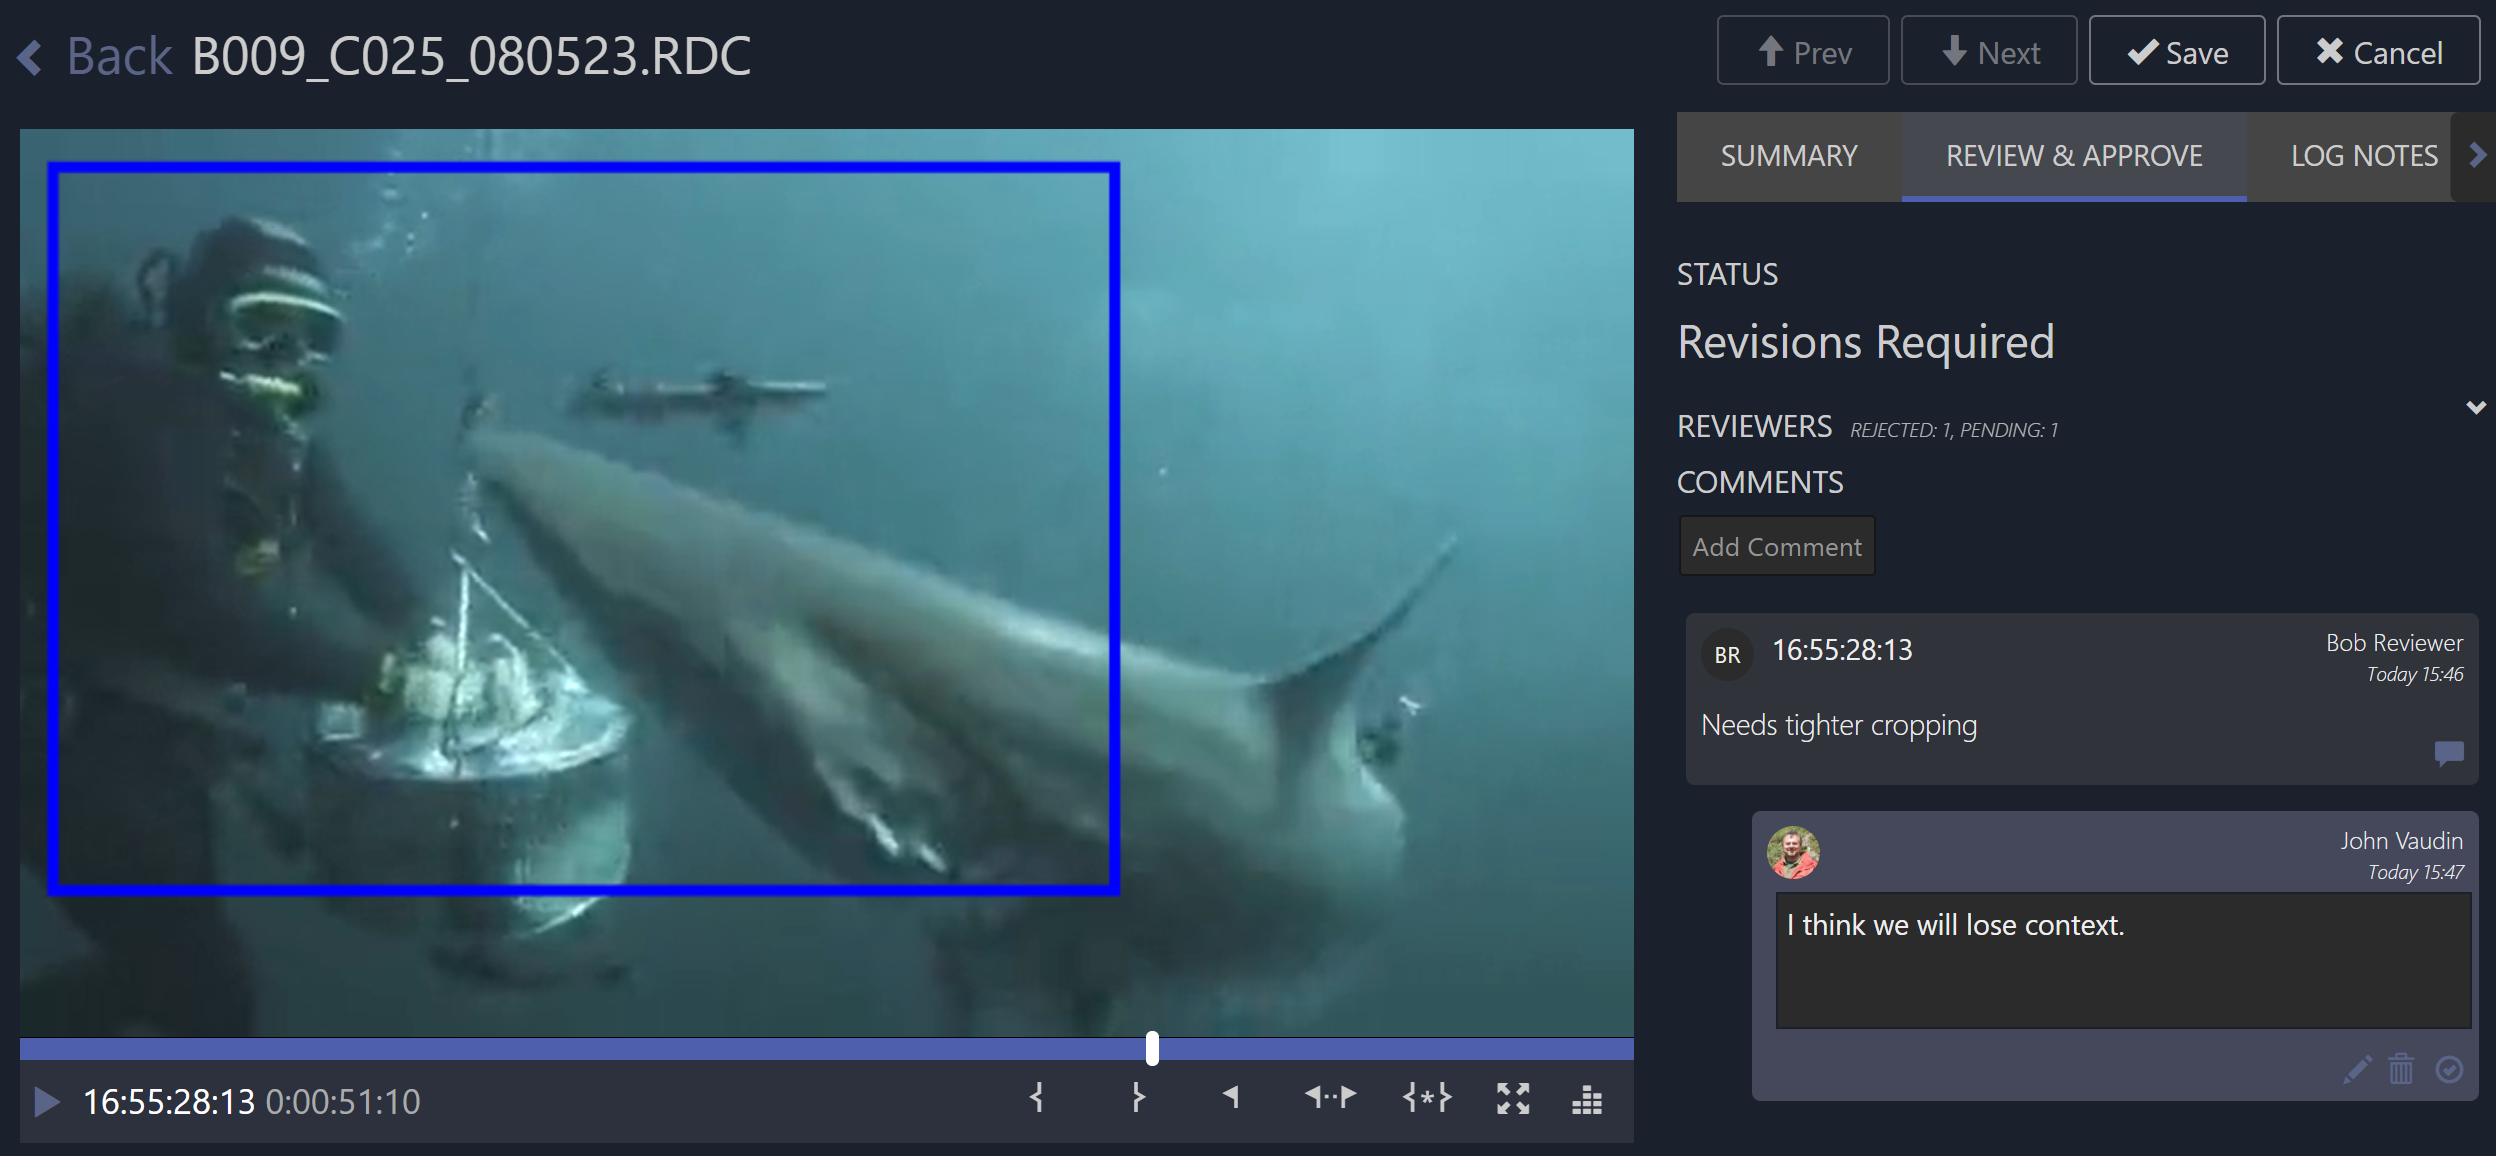
Comments made by the reviewer are immediately reflected in the content creator’s panel. The content creator can reply to specific comments by clicking the reply button on the bottom right of the comment. This reply will sent to the reviewer immediately so that a real-time chat dialog can occur between creator and reviewer.