Finding Assets
The Browse/Search Panel provides a number of mechanisms to find the clips that you want to work with.
Search
The Search option provides simple key word search and advanced search features.
Simple Search
The simple search option allows you to find clips by entering a word or phase that appears in the name, notes or any user field associated with each clip.
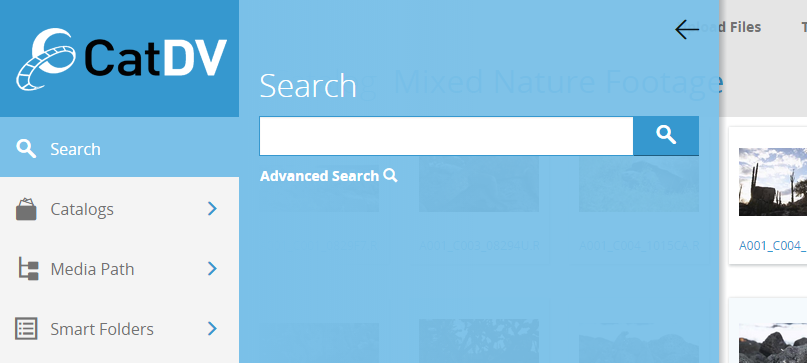
Press return or click the magnifying glass icon to start the search.
Advanced Search
The advanced search allows you to build a query that specifies exactly which fields should contain which values.
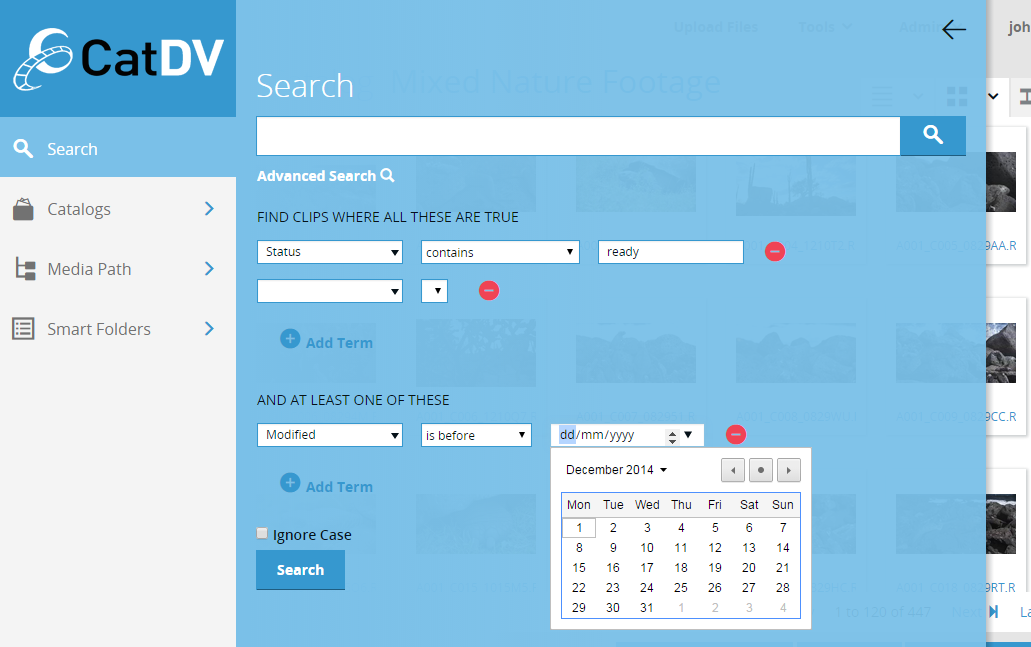
The Advanced Search panel lets you construct two lists of query criteria:
Find clips where all of the criteria are true – will only return clips where all the specified query criteria evaluate to true.
At least one of these criteria is true – will return clips where any of the listed criteria evaluate to true.
You can add as many criteria as you like to both lists, which will result in a search query for items that match all the items in the top list and at least one item in the bottom list.
Each criteria (in both lists) consists of three parts:
Field – the field (either built-in or user-defined) against which the criteria will be evaluated
Condition – the condition that the field must satisfy (e.g. ‘is equal to’ or ‘contains’)
Value(s) – the value or values that the condition applies to (e.g. Field: ‘Name’ Condition: ‘equals’ Value: ‘Fred’). For conditions such as ‘between’ two value fields will be displayed to allow you to enter the upper and lower values. If (as in the example above) the value is a date then a date-picker will be displayed to allow you to more easily enter the correctly formatted string)
The ‘Ignore Case’ option allows you to specify if the search should be case-sensitive or not.
Press the Search button to initiate the search.
Browse
The navigation pane provides a number of ways to browse the CatDV database.
Browse by Catalog
The Browse by Catalog panel displays the names of all the catalogs accessible to the currently logged in user.

The catalogs are displayed in sections based on which Production Group they belong to. The sections can be collapsed and expanded using the arrows at the right hand side of the panel. Within each section the catalogs are displayed in a tree based on treating each catalog’s name as a path name. For example in the image above the full name of “Demo” catalog is “Folder/Sub-Folder/Demo” .
Clicking on the name of a catalog loads the contents of that catalog into the clip list.
Browse by Metadata
The browse-by-metadata feature allows you to easily drill down into the CatDV database by selecting values from a set of related metadata fields.
In the example below assets have been categorized by their location – with linked fields for city, country and continent.
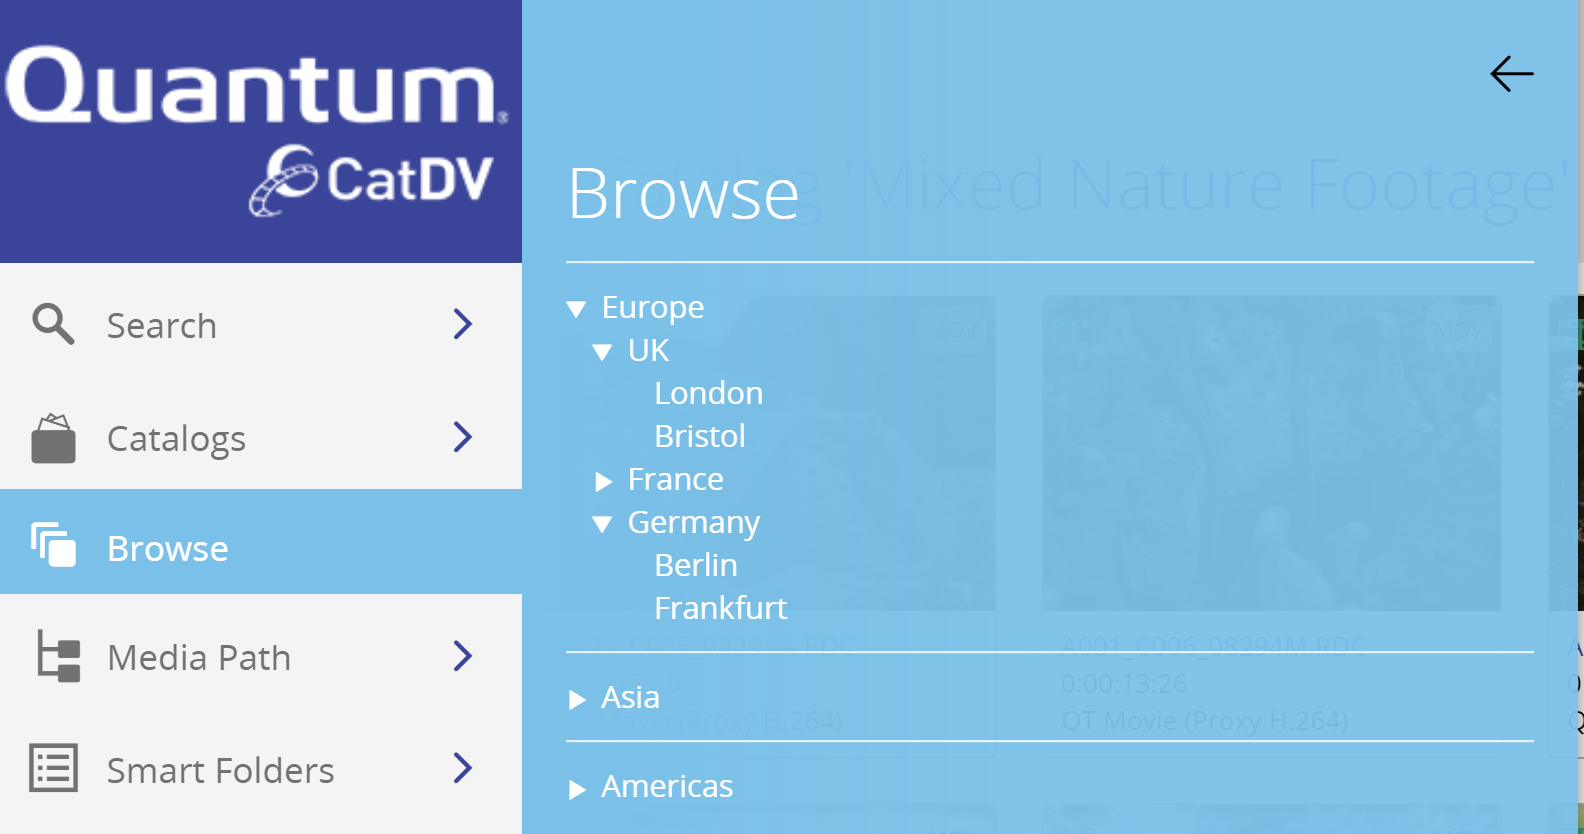
Selecting a value from the top level of the tree (continent) would display all assets whose location set to a city within that continent. Selecting from the second level (country) would display all assets for that country, and selecting the city will show just the assets in that city.
The set of fields to use for browsing is set by the administrator in the Forms/Filters section of the administration interface.
Browse by Media Path
The browse by media path panel displays the folders containing of all the assets accessible to the currently logged in user as a tree – similar to a file browser.
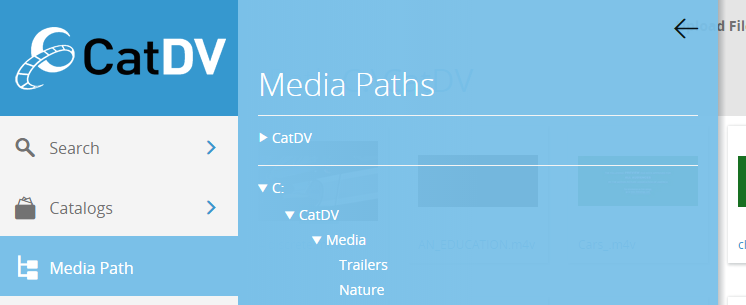
Clicking on a folder at any level in the tree displays the clips whose media files reside in that folder or any sub-folder in the clip list.
Browse by Clip List
The browse by clip list panel displays the available clips lists arranged by production group.
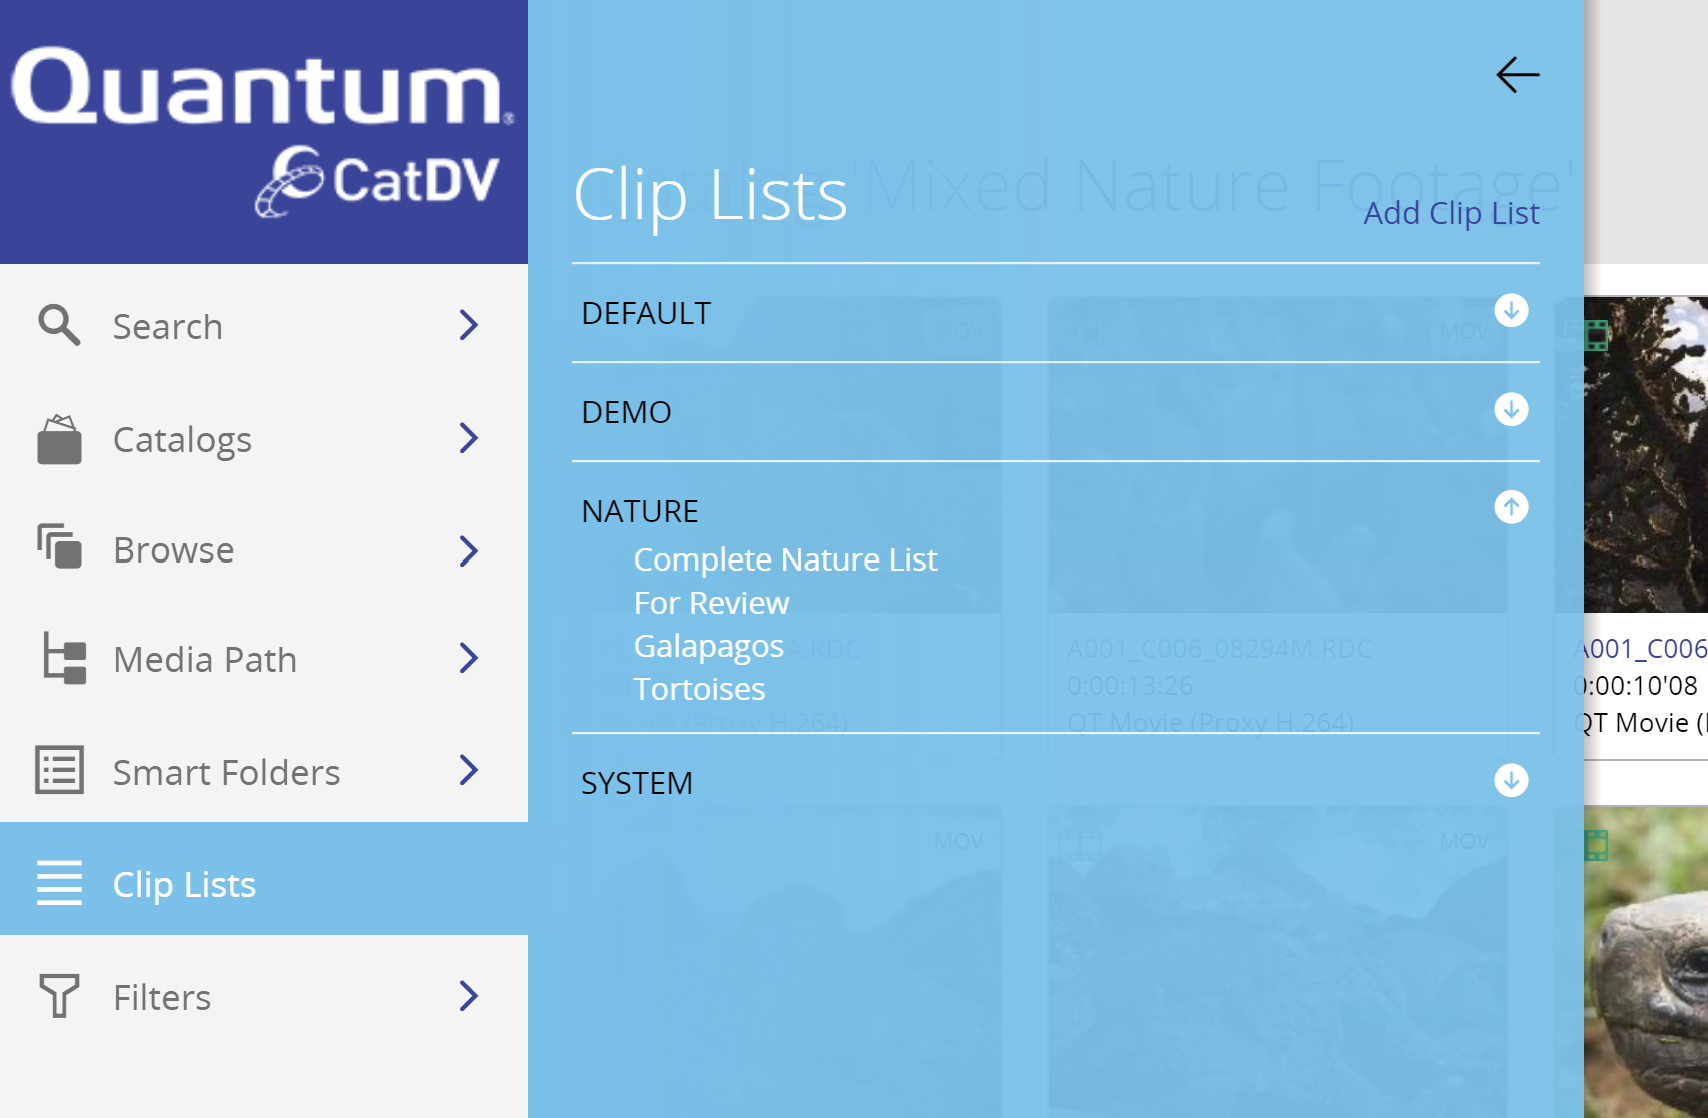
Selecting a clip list displays its contents in the results pane.
Results Pane
The results pane displays the clips returned by the latest search or browse operation:
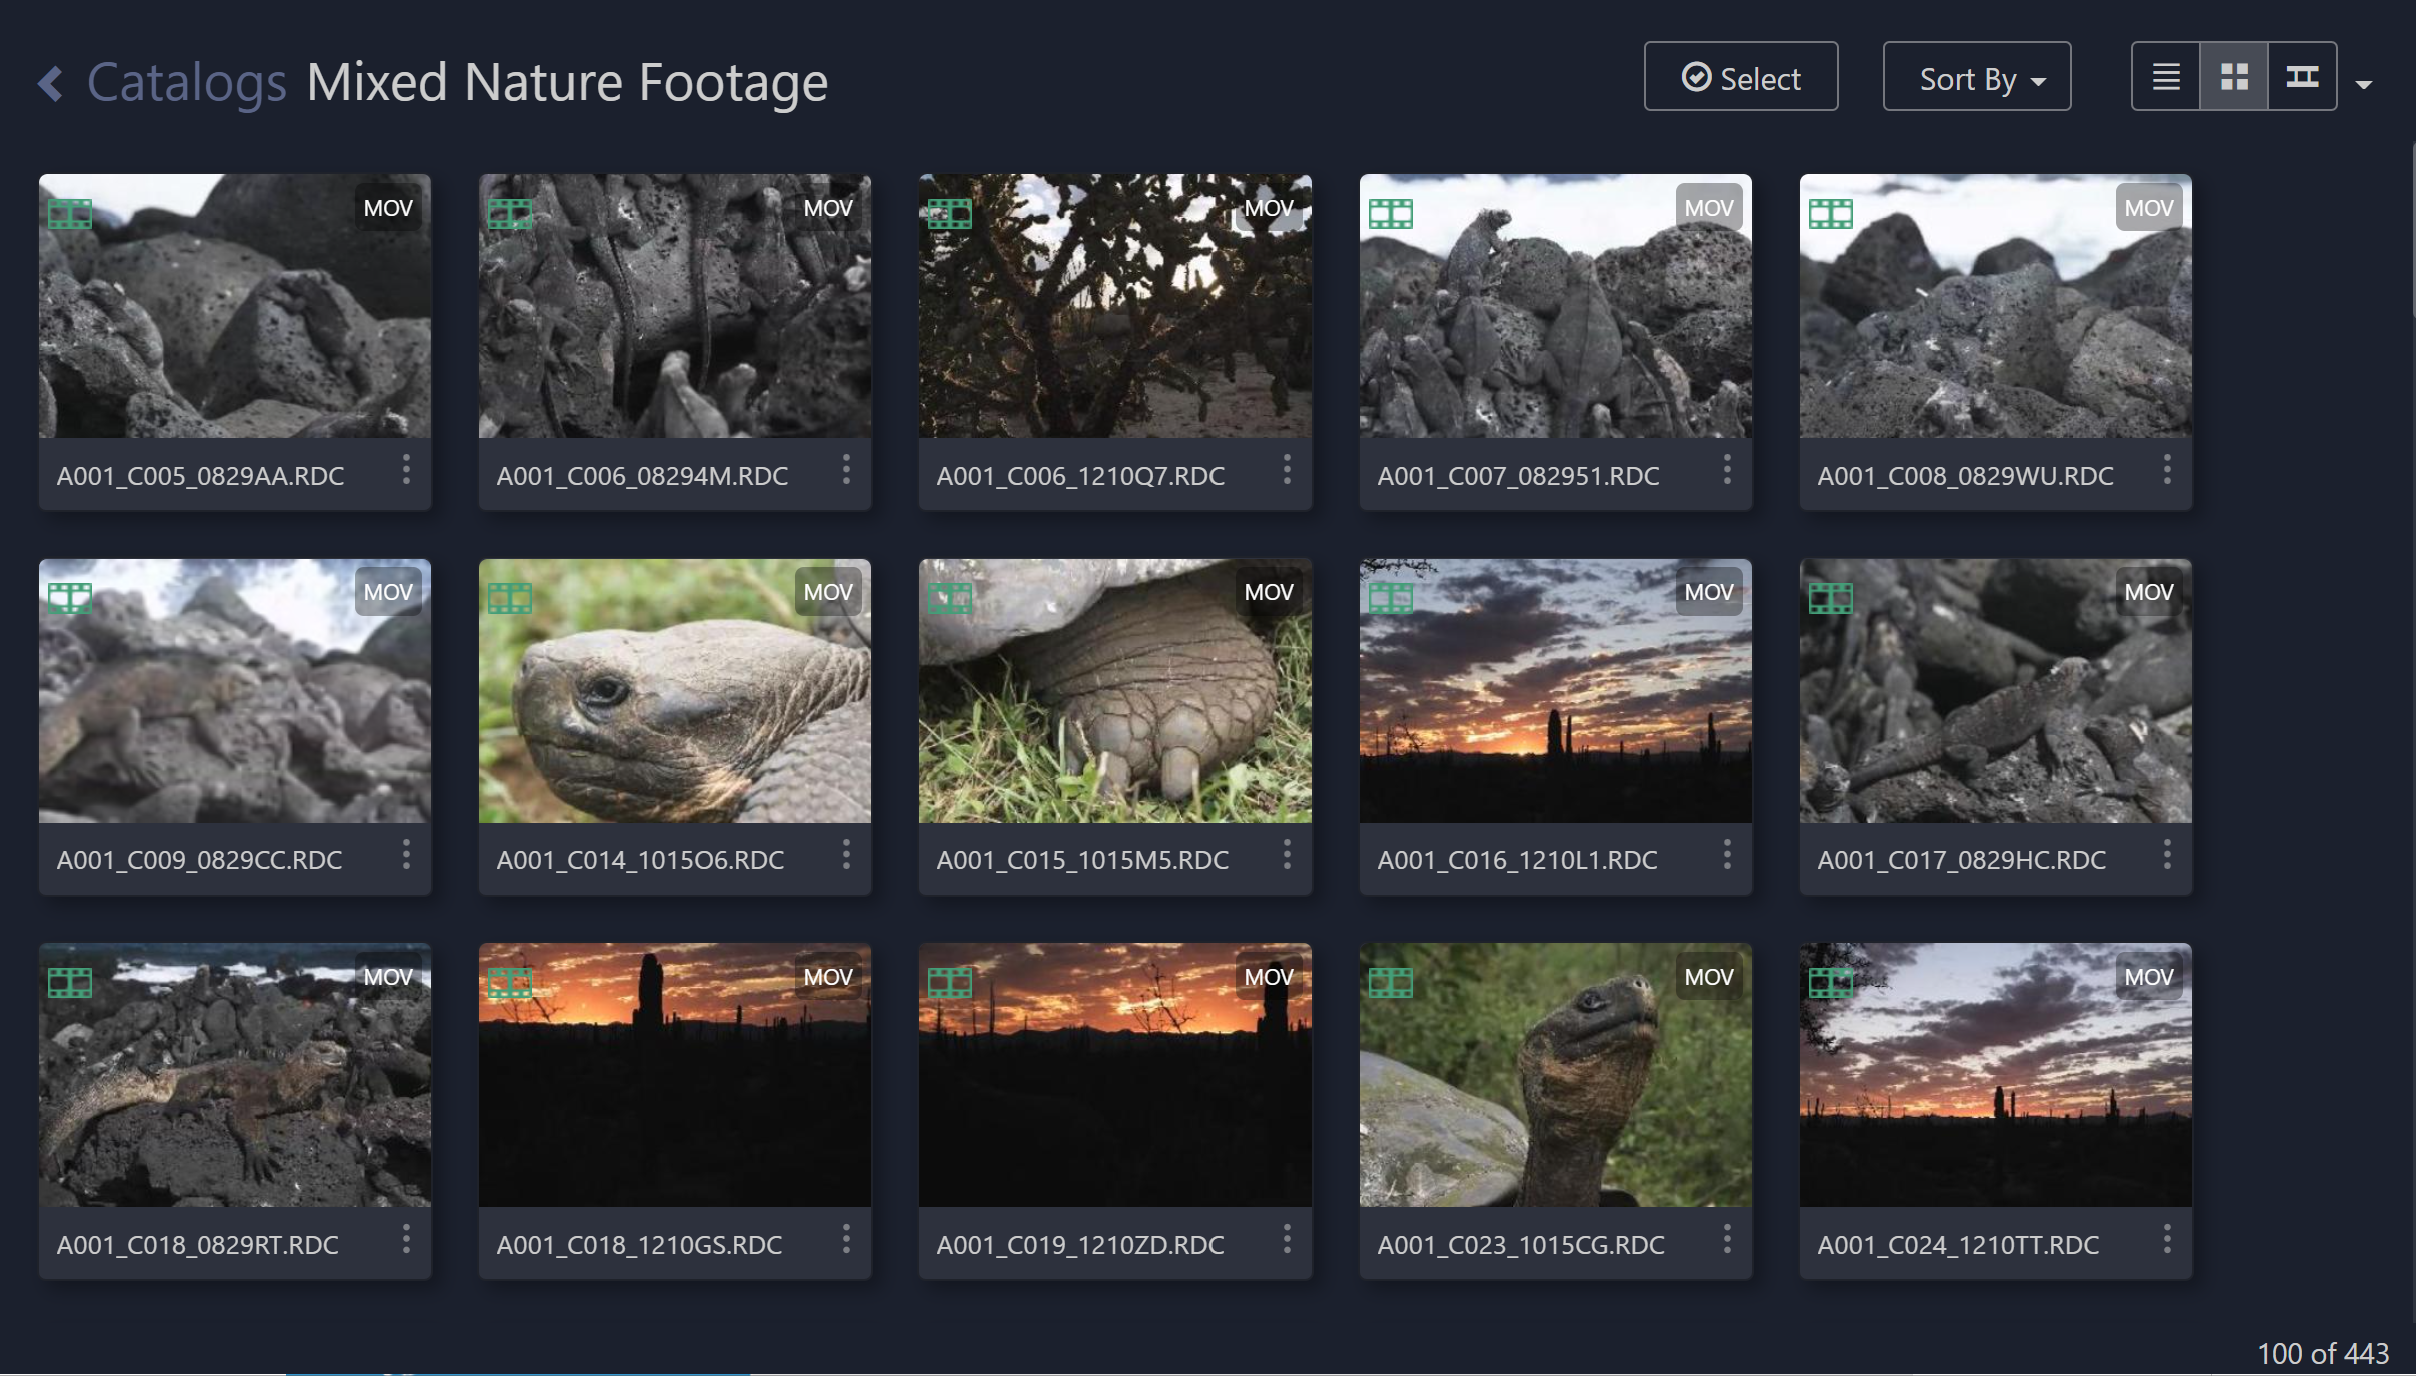
The title at the top describes the results – in this case a catalog named “Mixed Nature Footage”. The main area displays the clips themselves, while the controls at the top-right allow the style of view and the sort order to be selected.
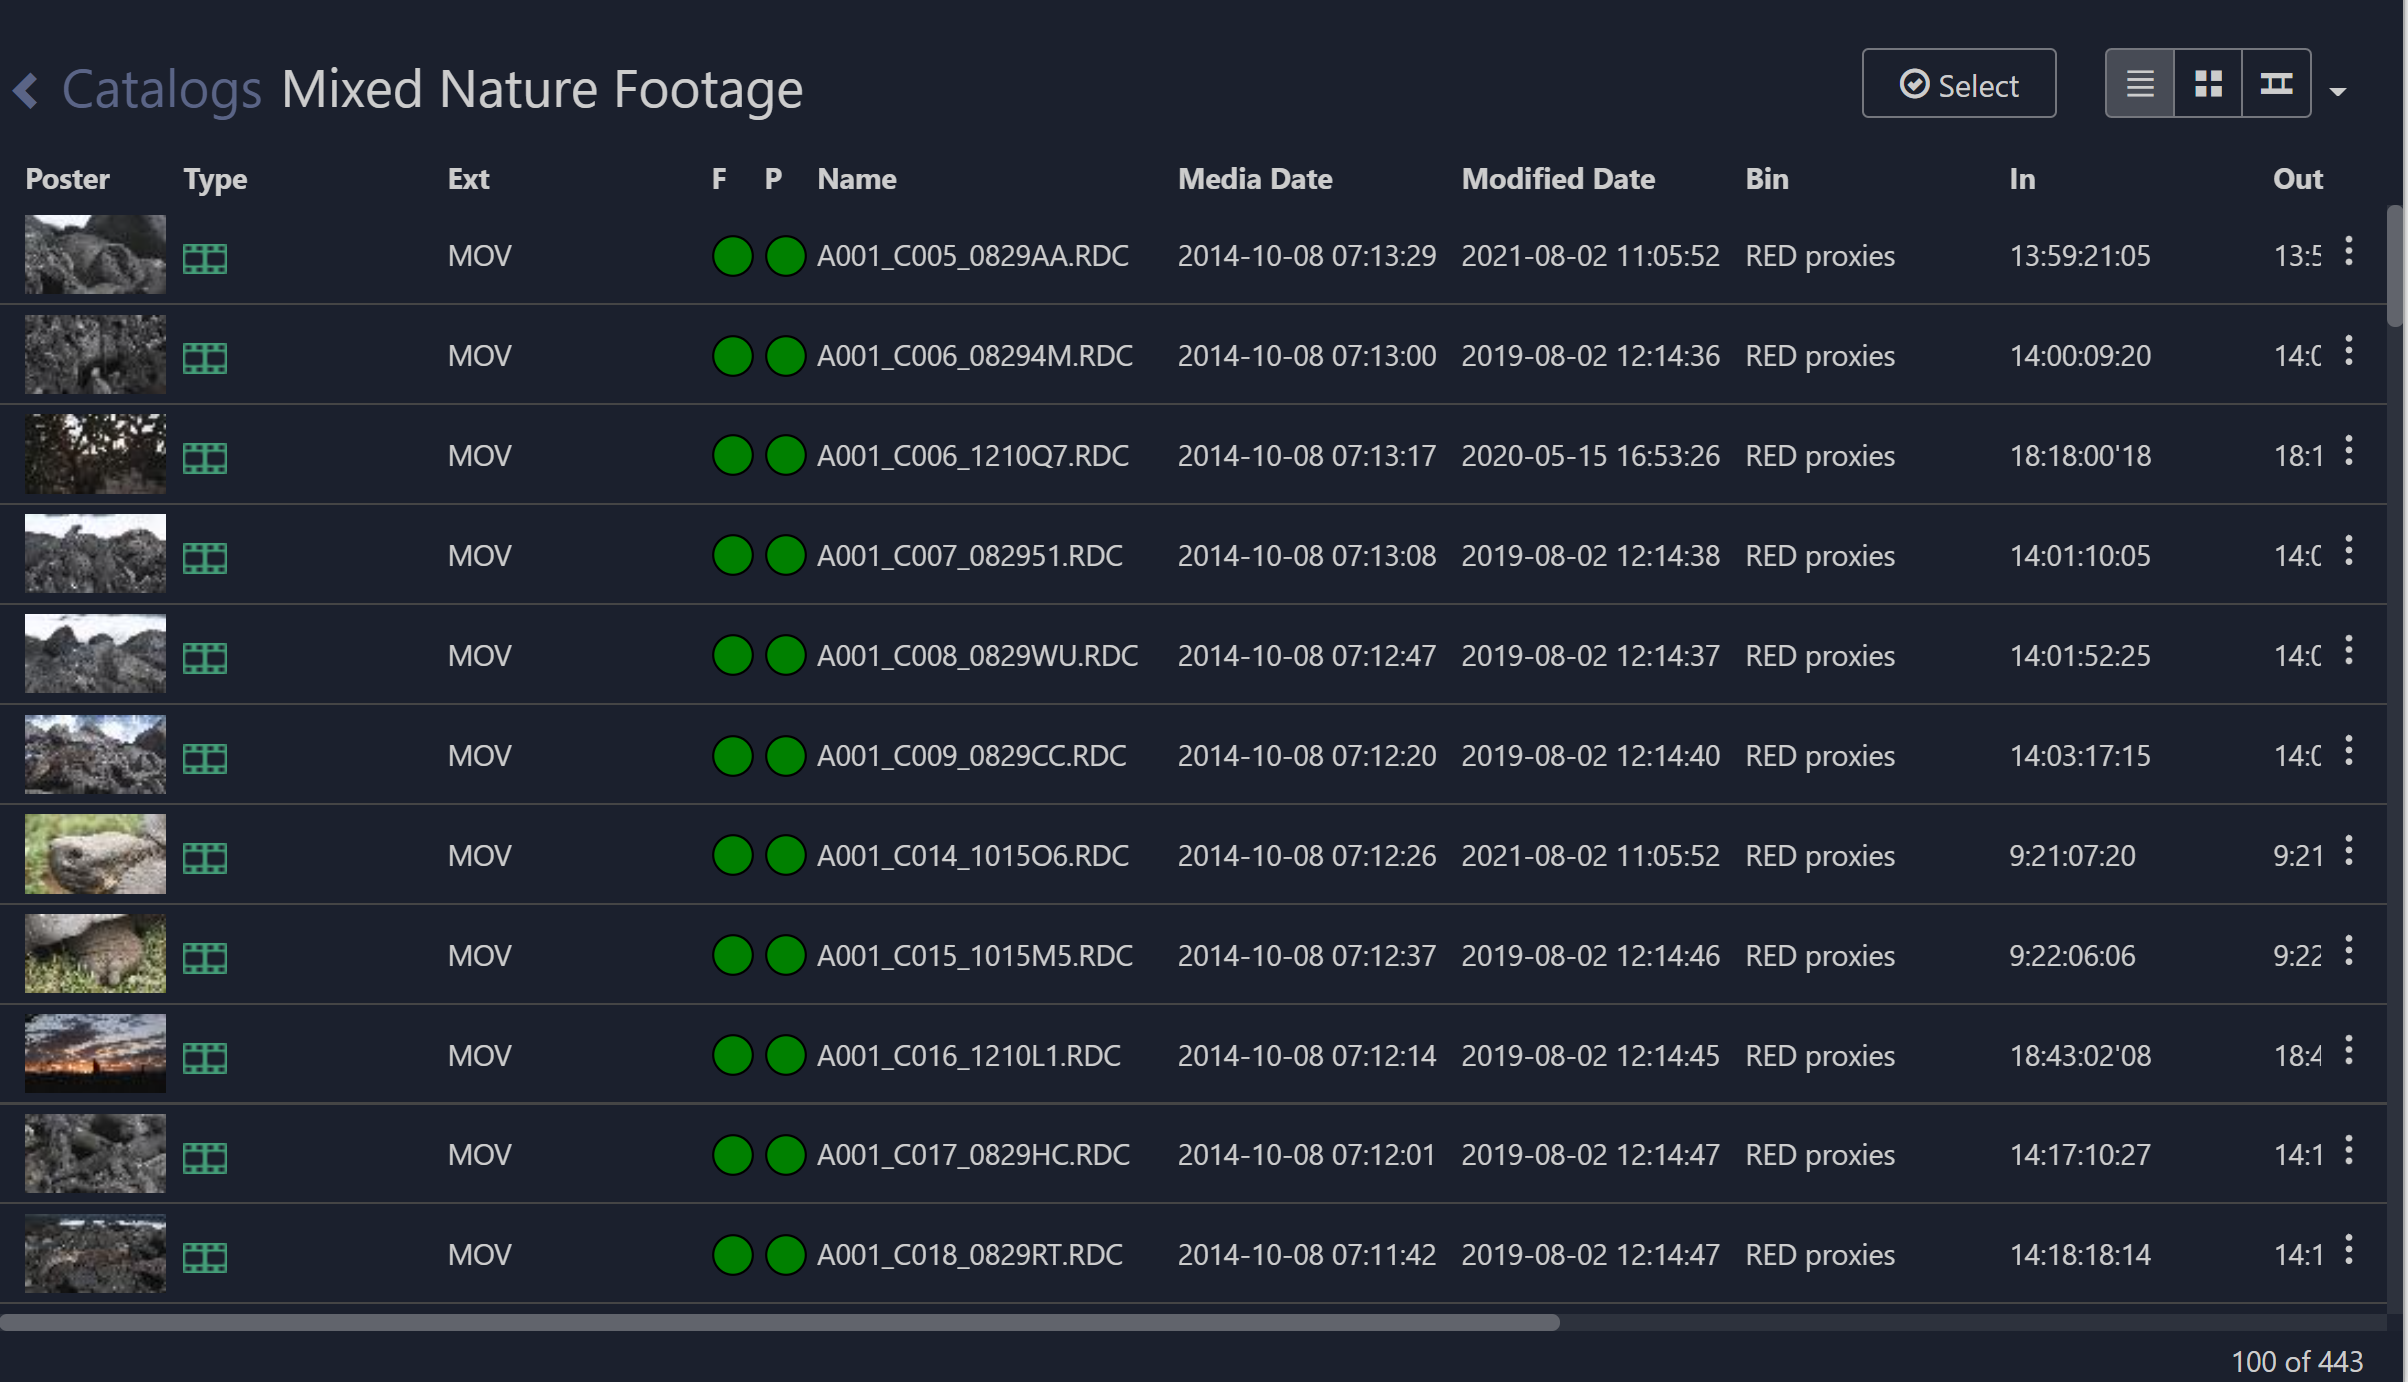
There are three main types of result view. The grid-view (shown above), list view (below)
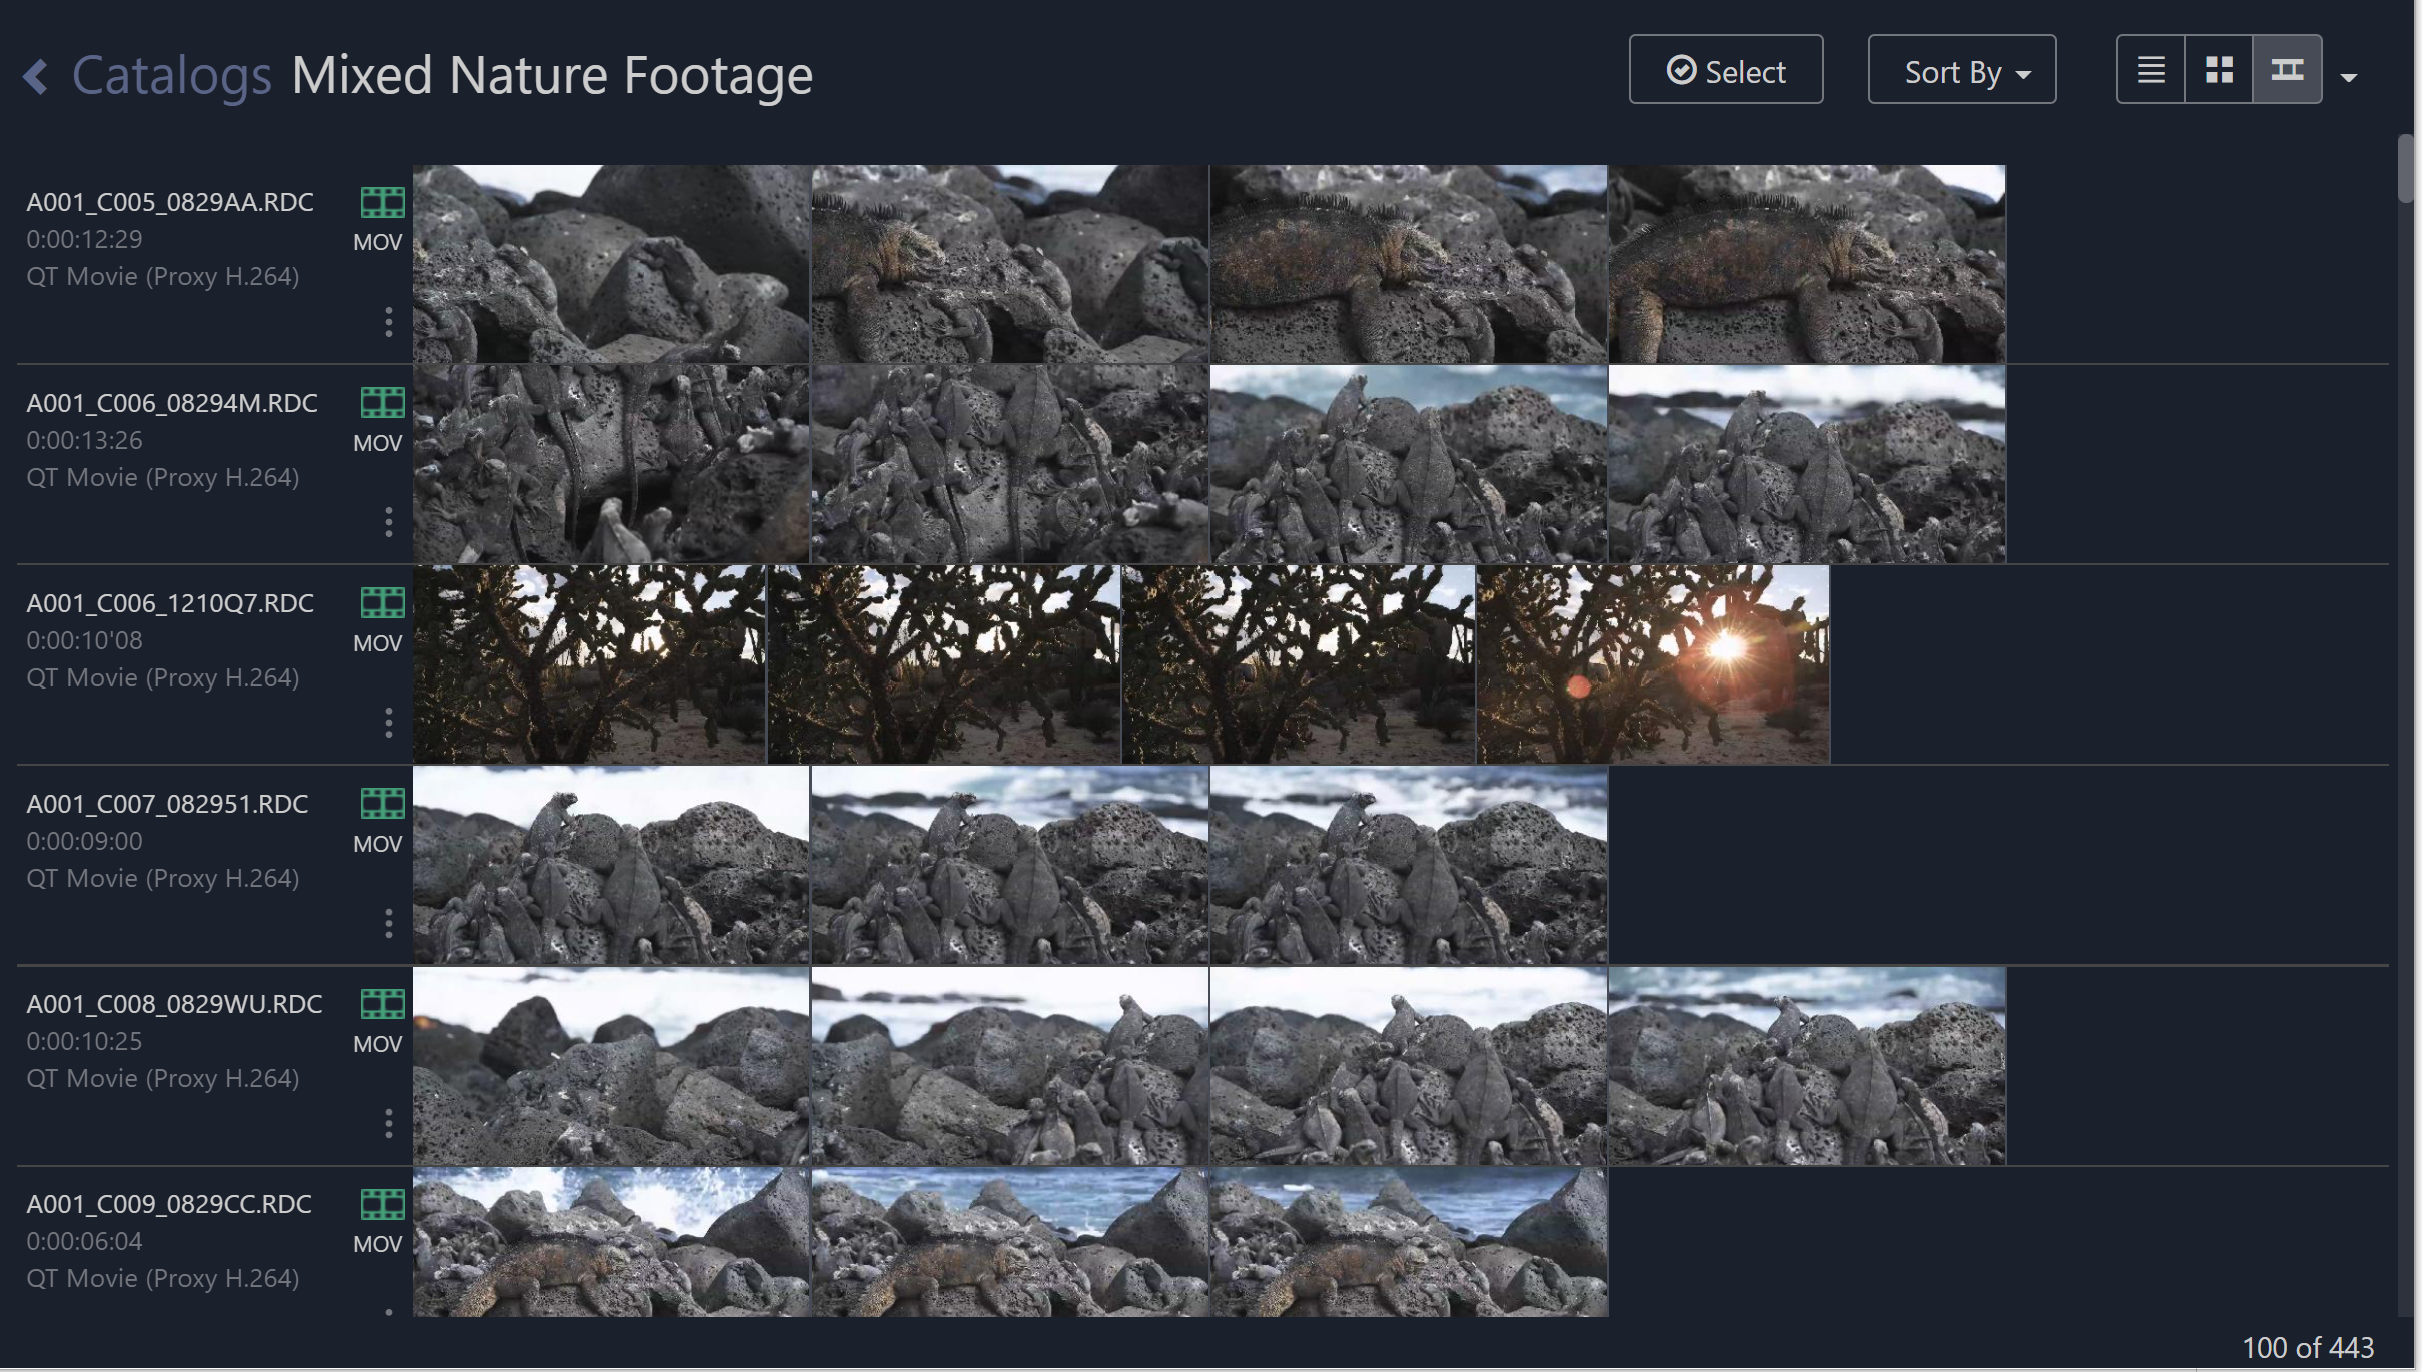
And filmstrip view:
The number of clips in the current result set is displayed at the bottom right along with the number currently loaded into the result pane. Scrolling down will progressively load more results into the result pane.
Clip Types
Each clip displays a small ‘type’ icon that indicates its type:
·  - video file
·  - still image
·  - audio clip
·  - sequence
·  - folder – an arbitrary set of related clips.
·  - container (meta-clip)
· Complex media - where a single video asset comprises multiple, separate video and audio files.
· Play-list – an ordered set of clips that play end to end, and store event markers on the underlying clips.
· Version set – multiple clips that represent different versions of the same asset.
·  - other, non-media document
Working with Folders
Folders allow you to organise the clips in a catalog into convenient groups. You can place any set of related clips together in a folder, and folders can include other folders.
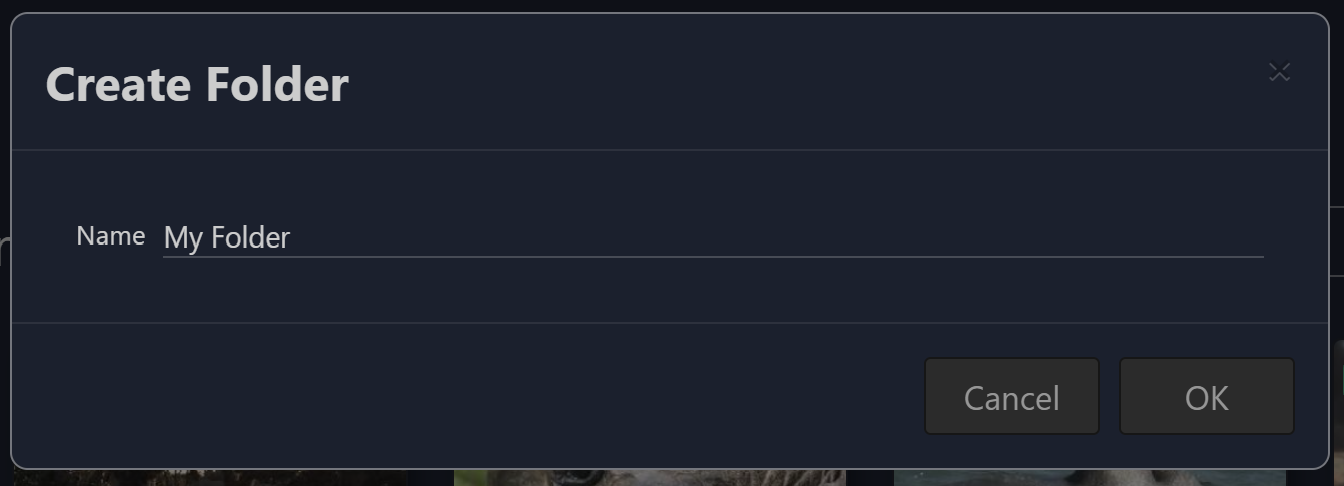
To create a new folder select “Create Folder” from the drop down “hamburger” menu:

Note: The ‘Create Folder” command is only available if you are currently viewing the contents of a Catalog (as opposed to, for example, viewing the results of a query) as CatDV needs to know in which catalog to create the new folder.
You will be prompted for a name:
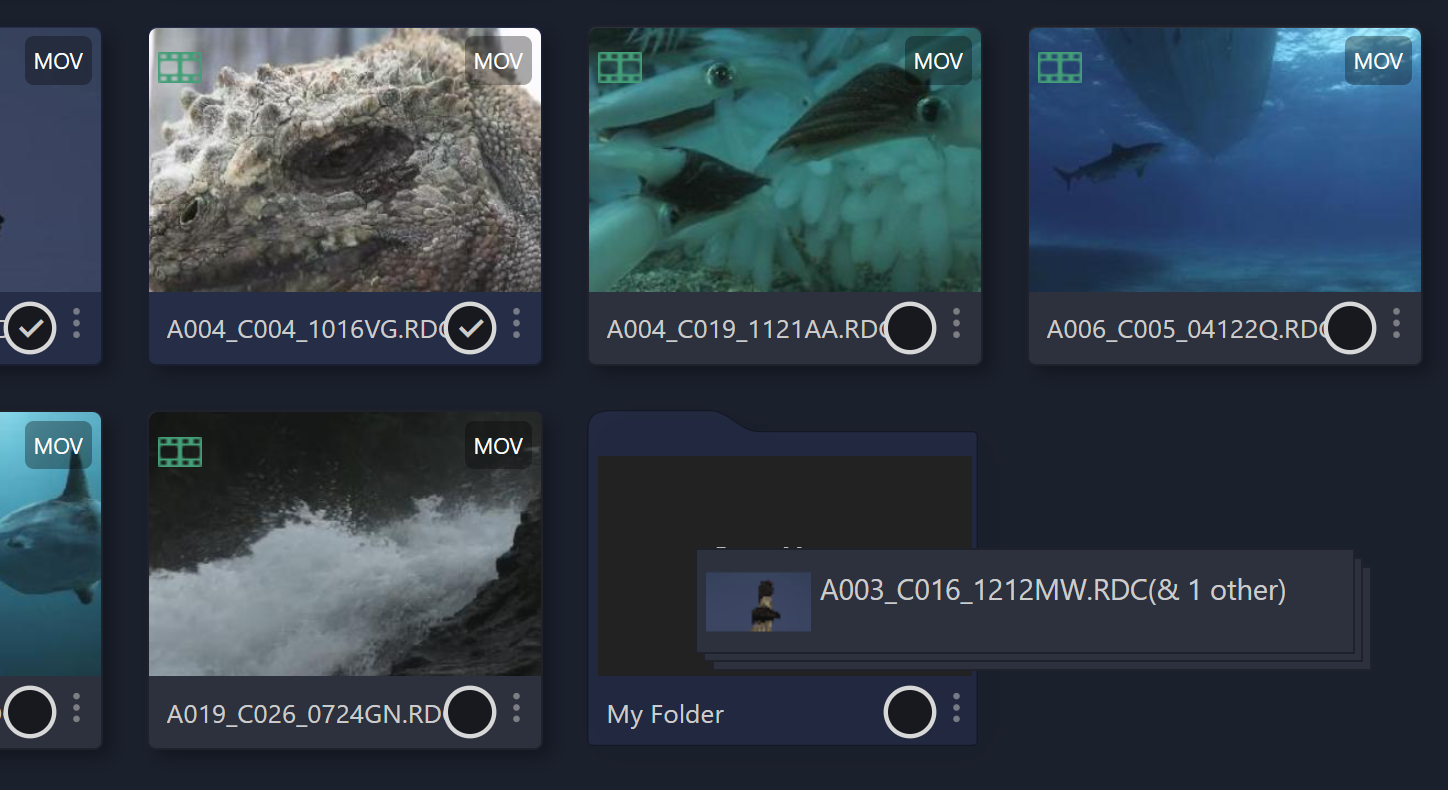
The new folder will appear in the catalog currently being viewed. You can add a single clip to the newly created folder by simply dragging it onto the folder’s icon. To add multiple clips click on the Select button and then select the clips you want to add and then drag them into the folder:
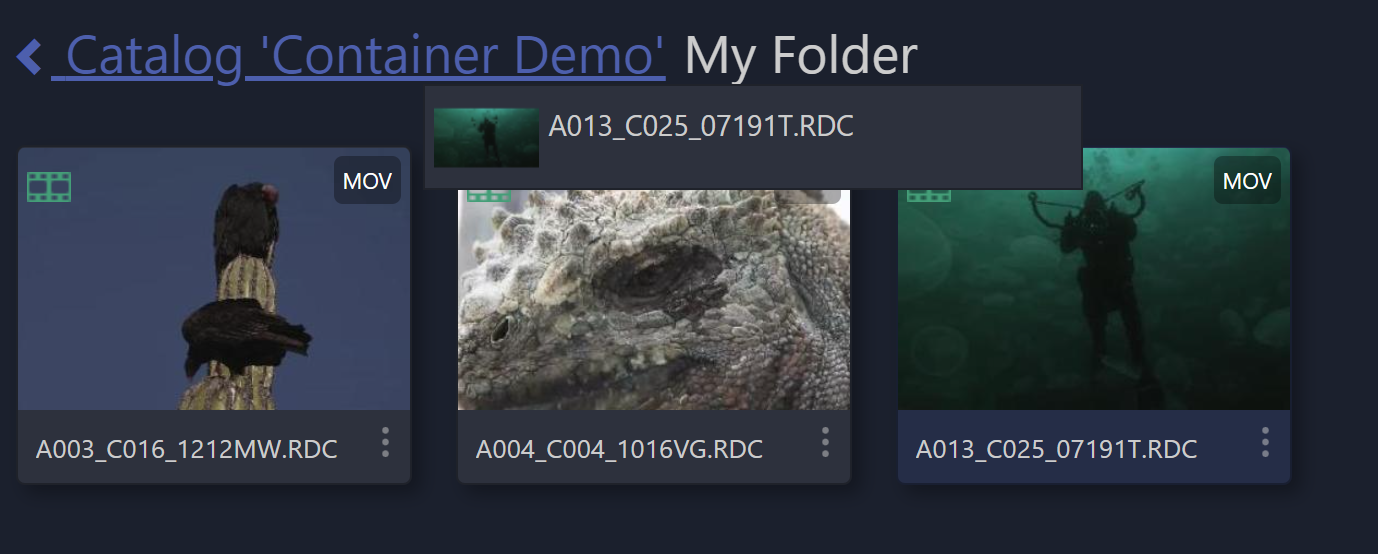
Clicking on a folder (in the Web 3 interface) opens the folder to view its contents. To move a clip back out of the folder, drag it to the parent folder displayed in the ‘breadcrumbs’:
View/Edit Clips
When you click on the name of a clip in the clip list on the home page the clip details page is displayed:

In its simplest form the view clip page displays a preview of the clip’s media on the left hand side and the clip’s metadata on the right hand side.
Media Player
If the media is playable (not a still image) and a valid proxy file exists for the clip then a play icon is displayed superimposed over the preview image. Clicking play brings up the media player:
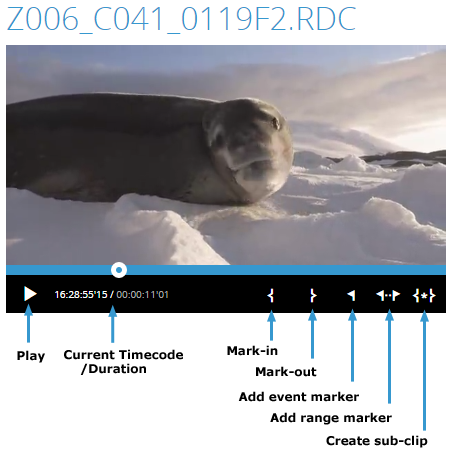
The media player consists of tree panels – the player itself, the timeline and the controls panel.
The timeline represents to duration of the clip and includes a play head that moves, indicating the point in the whole clip of the currently displayed frame. The user can drag the play-head to view a different part of the clip.
The control panel contains a set of icons that perform the following actions:
Play – toggles between playing the video or pause
Current Timecode / Duration – displays the timecode of the current frame and the duration of the clip. Note that, depending on how the clip is encoded, the timecode may not start at zero at the beginning of the clip.
Mark-in– sets the mark-in point of the current clip to the current frame.
Mark-out – sets the mark-out point of the current clip to the current frame.
Add event marker – creates an event marker at the current frame. A dialog box will open to allow details of the marker to be entered.
Add range marker – creates a range marker between the current mark-in and mark-out points. A dialog box will open to allow details of the marker to be entered.
Create sub-clip – creates a new sub-clip based on the current mark-in and mark-out points.
Metadata Tabs
To the right of the player are the the metadata tabs. These tabs can (with certain constraints) be customised to display whatever selection of built-in or user-defined fields makes sense for your workflow. In the absence of any custom defined tabs a set of pre-defined tabs (Summary, Log Notes and Technical) will be displayed that display the key information about each clip.
If the currently logged in user has the relevant permissions then the user can edit the metadata displayed in these tabs. Once edited the user must click the Save button in the action panel under the metadata panel to save their changes to the server. Clicking Cancel will return the user to the home page discarding any changes they have made.
Timeline Markers
If the current includes markers they are displayed below the player:
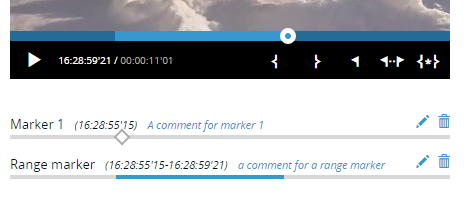
Each marker is displayed on a separate row below the clip. Each row displays the name of the marker, and the timecode(s) that define the position of marker within the timeline. If present the marker description is also displayed.
There are two types of markers:
Event Markers – mark an individual instant in time (a single frame) in the clip
Range Markers – cover a range from a start time to an end time.
Each timeline row also include two action icons – Edit (pencil icon) and Delete (trash can icon) to allow the user to edit the marker’s name/description or to remove the marker completely.
New markers can be added using the Add Event Marker and Add Range marker buttons described previously.
Editing Sequences
The Web 2 interface provides a simple drag and drop sequence editing facility to create rough cut edits. It is not intended to be a full-featured video editor. It does not provide any of the advanced facilities that you would expect from a video editing package, such as transitions etc. It is purely intended to allow the user to compile simple shot-lists that can be sent to an editor for final editing.
Opening a Sequence
To create a new sequence select the clips you want to be in the sequence in the clip list on the home page and click the Create Sequence button in the action panel. To edit an existing sequence open it by clicking its name in the clip list and then click the Edit Sequence button in the view clip page’s action panel.
Sequence Editor
The sequence editor is shown below:
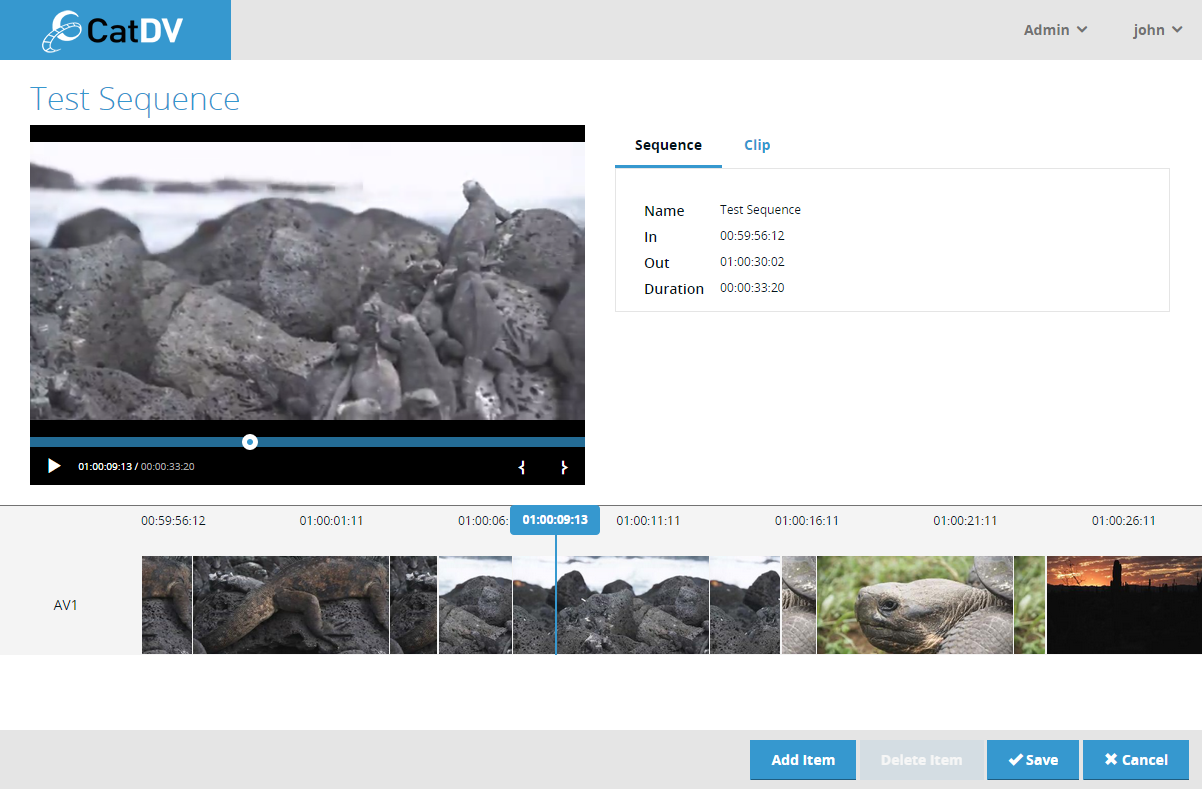
The sequence editor is divided into three panels:
Player – the player panel plays either the complete sequence or the currently selected clip within the sequence.
Details – the details panel displays basic details for the whole sequence or the currently selected clip within the sequence.
Timeline – the timeline shows all the clips that make up the clip arranged in time order along the timeline.
Editing Mode
The sequence editor operates in two distinct modes:
Preview Mode – allows the complete sequence to be played or scrub through by clicking the play button in the player, or by dragging the play head in either the player or the timeline.
Editing Mode – to edit the items within a sequence one of the clips in the timeline must be selected. When a clip is selected it is highlighted in the timeline and the player window switches to displaying the selected clip and the details panel switches to displaying the details for the selected .
The image below shows a the display of the selected clip in the timeline. Notice that the other clips are greyed out and the selected one has a highlight border.
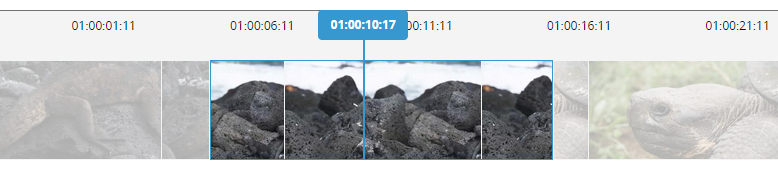
Once in editing mode you can adjust the portion of the clip that should appear in the sequence by setting the in and out points of the selected clip using the set mark-in and set mark-out icons in the player’s control panel. The timeline is updated in real time as the in/out points are adjusted.
To return to preview mode either click to the left of the timeline (on the AV1 track title) or select the Sequence tab in the details panel
Adding Clips
Clips can be added to the sequence by clicking the Add Item button in the action panel. This will display a clip browser panel that is essentially the same as the clip browsing facility of the home page. Simple browse by catalog or path, or enter a search, to identify the clip or clips that you want to add and then click Add.
Saving
Once editing is complete click Save to save changes to the server.